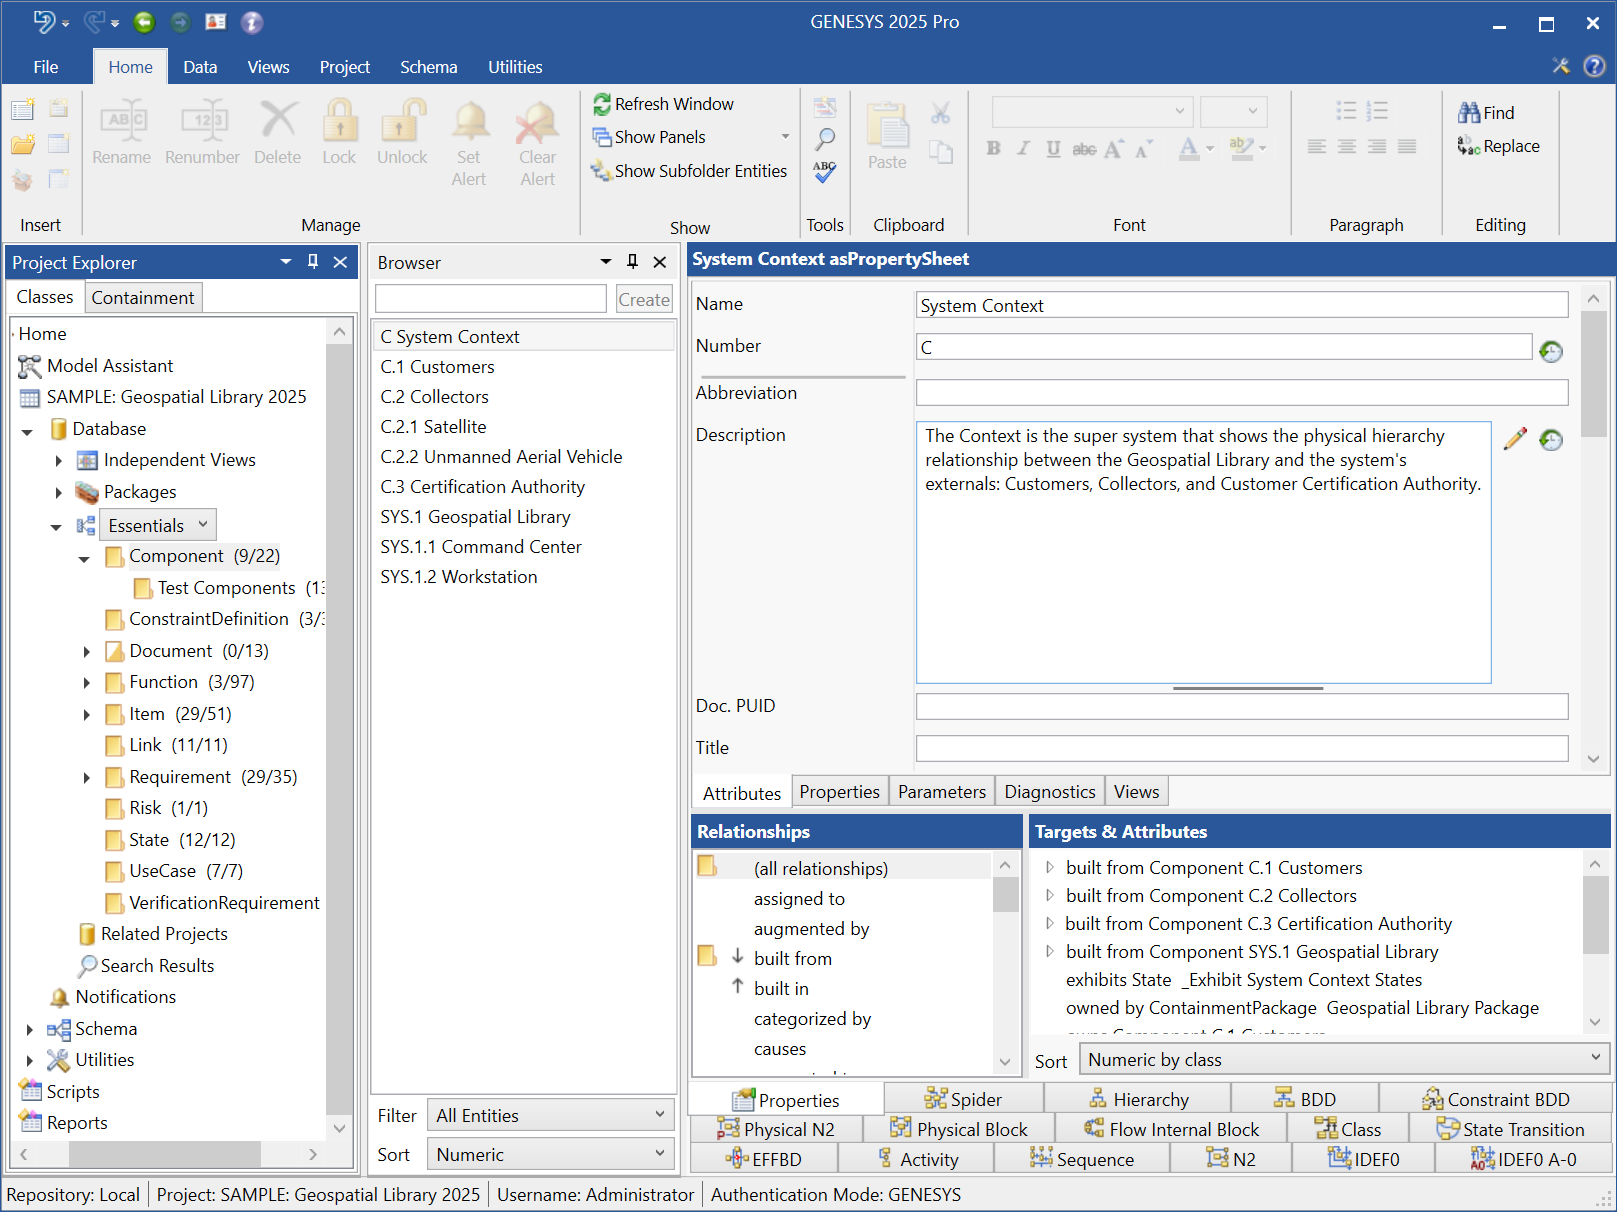
Project Explorer - Classes Tab
The Project Explorer's Classes Tab provides a means of organizing a model using by top-level folders representing each of the Schema - Classes in CSDL as well as Basic Packages and Digital Thread Packages.
At the top of the window is the application menu (the big, white G) and general commands.
In the application menu you have the following commands:
-
New Project - create a new project.
-
Open Project - open an existing project.
-
Import - import a GENESYS saved file or a CORE XML file.
-
Export - export data to an GENESYS save file.
-
Print - print the selected entity.
-
Close Project - close the current project.
-
Logout - logout of GENESYS.
-
Connect to Repository - connect to a different repository.
-
Exit - exit GENESYS.
-
Preferences - open the preferences.
Next come the following commands:
Across the top of the explorer there are the ribbons that give access to the power of GENESYS. They are:
-
The Home ribbon with the common commands you will use throughout GENESYS.
-
The Data ribbon for some more data-centric commands.
-
The Views ribbon which will open a diagram in a new window for the selected entity - note that not all views are available for every entity.
-
The Project ribbon which contains command that are applicable to the project itself.
-
The Schema ribbon is applicable for when you want to modify the underlying schema of the database.
-
The Utilities ribbon contain commands for managing administrative details about your repository, running scripts and reports, and the connectors to other tools.
-
When you have a diagram open, a Diagram ribbon will appear with diagram specific commands.
-
If you have any add-ins loaded, one or more Add-In Ribbon tabs can appear.
On the right side of the window are:
-
Custom Ribbon - sometimes you want to add a command to a ribbon to open a file or invoke a script. This button is how you access the ribbon setting. Note that you must close and reopen the project explorer in order for the Custom ribbon to appear the first time you create a custom command.
-
Help - access to this help file. Help can be accessed by click the F1 key.
The left-hand pane of the project explorer provides complete access to all aspects of the given project:
- Home - the starting screen when opening the software.
- Model Assistant - the model assistant options available for this project.
- Properties - the project properties.
- Database
-
- Packages - package navigation.
- Facility Drop-down - list of facilities that group classes together. is the default selection.
- Related Projects - other projects that are related to the current project.
- Search Results - results from using the search command.
- Notifications - view the notifications and alerts for the project.
- Schema
-
- Classes - the classes defined for this project.
- Facilities - the facilities defined for this project.
- Relations - the relations defined for this project.
- Utilities
-
- Filters - the filters defined for this project.
- Mappings - the mappings defined for this project.
- Masks - the masks defined for this project.
- Node Templates - the node templates defined for this project.
- Rule Sets - the rule sets defined for this project.
- Sort Blocks - the sort blocks defined for this project.
- Viewpoints - the viewpoints defined for this project.
- Scripts - the scripts defined for this repository.
- Reports - the reports defined for this repository.
You will spend the majority of your time in the database segment of the explorer. GENESYS supports both package-based and traditional database-centric (class and folder) navigation to explore and manage your system model.
Under the Packages item, GENESYS subcategories them in to Basic Packages and Digital Thread Packages and then lists all root packages (package entities that are not included in any other package). The project list pane then shows the hierarchy of packages, enabling you to nest packages as desired.
Under the Facilities item, GENESYS has a drop-down of all facilities defined in your schema. In a selected facility, you will see the included classes (classes can reside in more than one facility), and for each class, you will see the hierarchy of folders for grouping and managing entities. When entities have been defined in a class, the class's folder icon is colored yellow and the name is followed by two numbers in parentheses. The first number in the parentheses indicates how many entities are directly under the class folder; the second number indicates how many total entities there are in the class and all of its folders.
To move entities between folders, select an entity and drag it to the new folder. Use the shift key to select more than one entity at a time.
Tips and Techniques
- The relative size of the panes can be adjusted by dragging the bars between panes. This is true for all of the navigational windows.
- The individual panes can be toggled on and off. This provides additional space for the remaining panes without having to resize.
- When you have a large number of entities in a class, you may want to organize your class entities into folders. Entities for a class can exist directly under the class name or in one of the folders.
- Double-clicking on an entity anywhere in GENESYS is a shortcut for opening the property sheet for the entity.
- All schema information and views can be accessed in database mode. They are simply presented in a read-only format. With full access to the definitions, the schema becomes a self-documenting language.
- Use the tabbed views of an entity for quick access to multiple representations. When additional screen space is required, open the diagram in a separate window using the views ribbon.
- You can open multiple project explorers on the same project by using the Open Project command on the application menu.
- Dragging a file from your Windows Explorer onto an entity in GENESYS will give you the option to either make a reference to an external file or set the image for the entity.