Home Screen 
After logging in, GENESYS opens to the Home screen. The Home screen provides mechanisms for organizing projects; reviewing, sorting and searching projects via metadata; and several commonly used quick links.
You can return to this screen at any time in the future by clicking the Home entry at the top of the project list pane in Project Explorer. Note: after opening a project, the Project Explorer will remain open in a side window next to the Home screen.
The Home screen consists of several panels and buttons, shown in the image below.
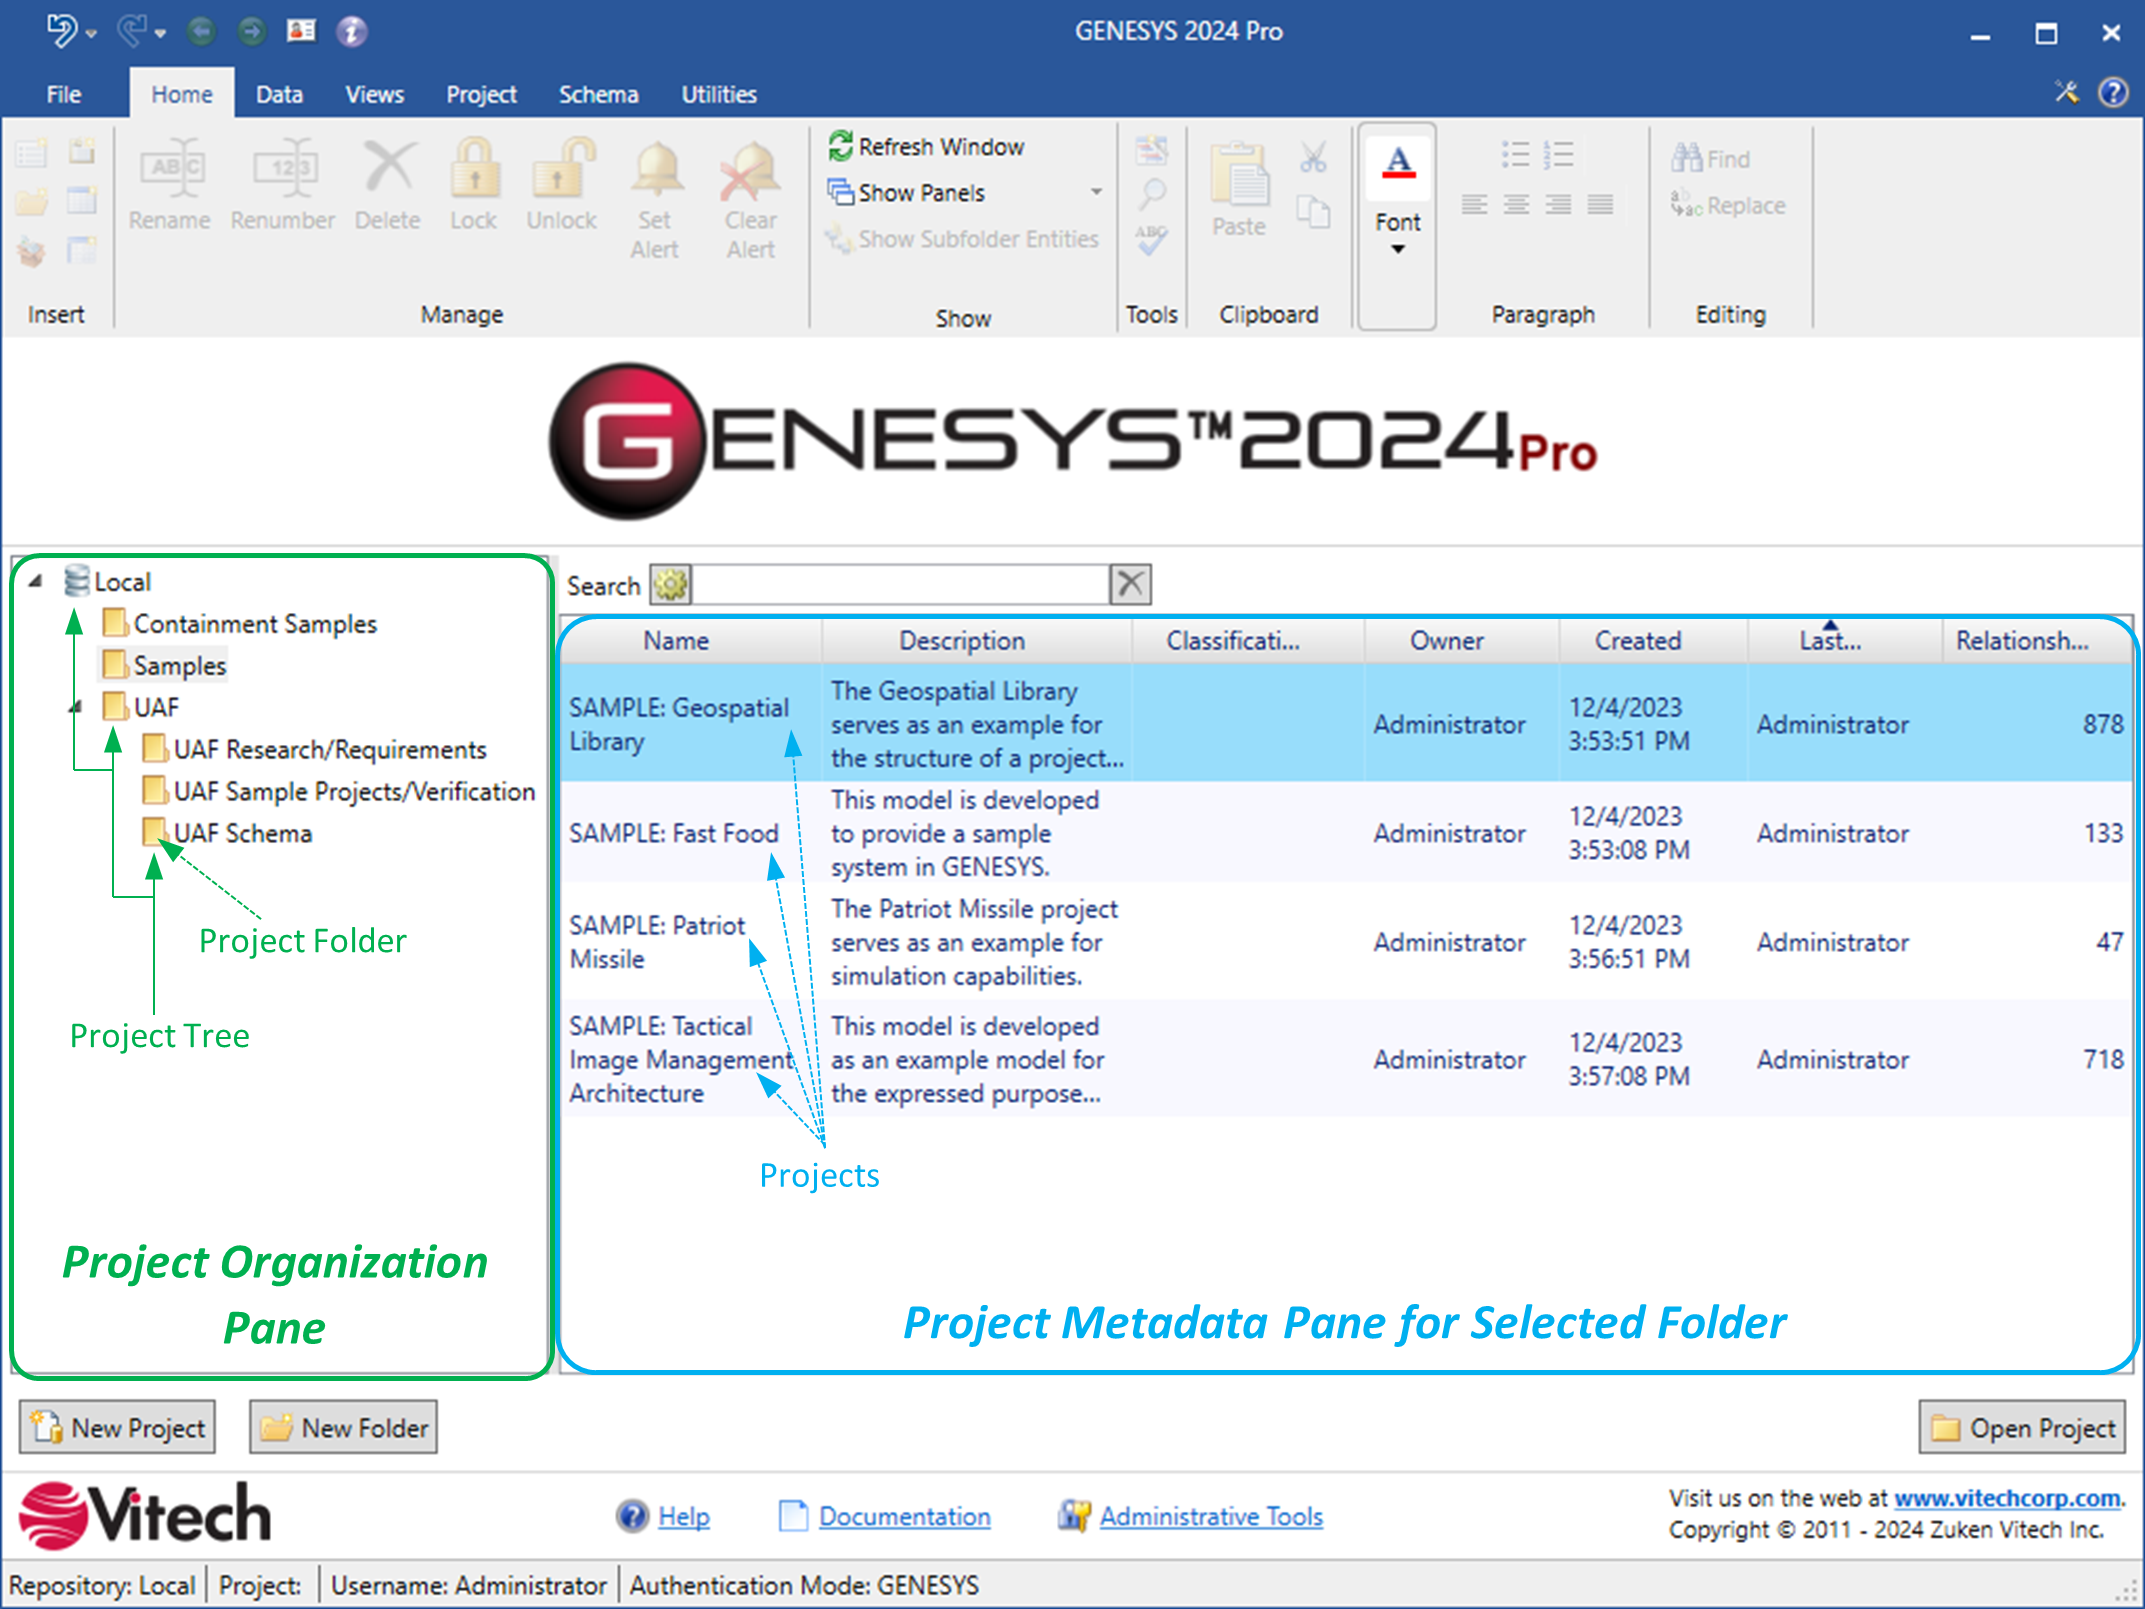
Project Organization Pane
Within the selected database, this pane shows all the Project Folders organized within a Project Tree. Project Folders are a special kind of Folder used to contain and organize Projects. Project Folders may be nested. Project Folders can contain Projects and lower-level Project Folders. A Project may only be in one location within the Project Tree.
Project Folders
Creating a New Project Folder
A new Project Folder can be created in several different ways.
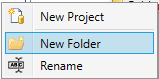
- Clicking on the "New Folder"
 button located below the Project Organization Pane.
 - Right clicking on the database repository
 icon (in the example above, this is “Local”) or on an existing Project Folder and then selecting “New Folder” from the pop-up context menu.
Renaming a Project Folder
Right click on any existing Project Folder and then click “Rename”. The user will be prompted to enter a new name for the Project Folder.
Moving a Project Folder to a New Location
To move a Project Folder to a new location within the Project Tree, left click and hold on a Project Folder and then drag the Project Folder to a new parent Project Folder. Release the left click when a new parent Project Folder is highlighted, and the Project Folder will be moved to the new location as a child of the selected parent Project Folder.
Note: Some locations within the Project Tree may not be valid locations for a Project Folder to be moved (such as to another database repository, as this requires the project to be exported/imported -or- the existing Project Folder). In these instances, a red cross symbol ![]() will be displayed.
will be displayed.
Projects
Creating a New Project
A new Project can be created in several different ways.
- Clicking on the “New Project”
 button located below the Project Organization Pane.
 - Right clicking on the database repository icon (in the example above, this is “Local”) or on an existing Project Folder and then selecting “New Project” from the pop-up context menu.
- Right clicking anywhere in the Project Metadata Pane for Selected folder and clicking on “New Project”
 from the context menu.
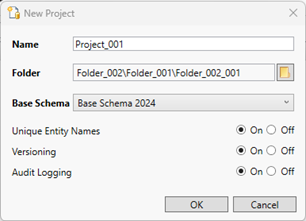
A context menu will then appear prompting the user to name the Project, select which Project Folder it should be created in, and which Base Schema to use. Options to select “Unique Entity Names,” “Versioning,” and “Audit Logging” are also available.
Moving a Project to a New Project Folder
To move a Project to a new location within the Project Tree, left click and hold on a Project in the Project Metadata Pane for Selected Folder and then drag the Project to a new parent Project Folder in the Project Organization Pane. Release the left click when a new parent Project Folder is highlighted, and the Project will be moved to the new location as a child of the selected parent Project Folder.
Note: Some locations within the Project Tree may not be valid locations for a Project to be moved (such as to another database repository, as this requires the project to be exported/imported -or- the existing Project Folder). In these instances, a red cross symbol ![]() will be displayed.
will be displayed.
Opening a Project
A Project can be opened in several different ways. In each case, the user must navigate to the desired Project Folder in the Project Organization Pane and then left click on the desired Project in the Project Metadata Pane for Selected Folder.
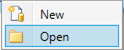
- Clicking on the “Open Project”
 button located below the Project Metadata Pane for Selected Folder Pane.
 - Double clicking on the Project.
- Right clicking on the project and selecting “Open” from the context menu.
Project Metadata Pane for Selected Folder
Once a Project Folder is selected in the Project Organization Pane, all the Projects within that Project Folder will be displayed in the Project Metadata Pane for Selected Folder. The columns in the provided table display metadata associated with each project. The visible metadata categories can be tailored to a user’s needs. “Name” is the only metadata field required to be displayed in the table.
Tailoring the Visible Project Metadata
Right clicking on the column headings will bring up the available metadata field context menu, shown below.
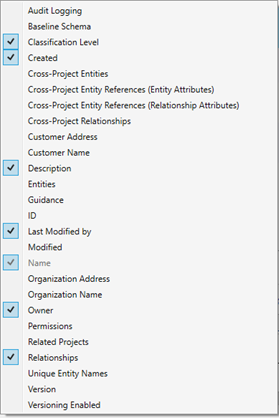
Select any additional fields that you wish to display in the table. De-select any that you wish to omit.
Note that following fields are calculated at the time the metadata is requested to be added to the table and may take a few minutes to calculate depending on the quantity of projects and size of the projects in your repository:
- Cross-Project Entities [Count]
- Cross-Project Entity References (Entity Attributes) [Count]
- Cross Project Entity References ( Relationship Attributes) [Count]
- Cross-Project Relationships [Count]
- Entities [Count]
Organizing the Columns
To move the location of a column, left click on the column header and drag the column to the new desired location. Release the left click, and the column will move to its new position.
Column Sorting
Selecting the column header will sort the projects according to their data type. The first click will sort them in descending order as defined for the field’s data type. The second click will sort the projects in ascending order. A down triangle or up triangle is displayed on the sorted header to visually indicate to the user which column is actively sorting the Project dataset. An example is shown in the image below.
Column Filtering
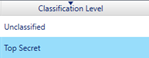
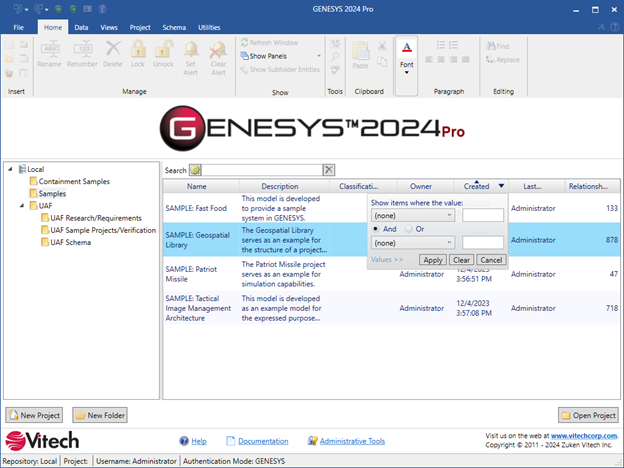
When the user’s mouse hovers over a column, a drop-down arrow will appear in the right-hand side of the column header. When selected, a context menu will appear that allows the filtering of the entries in the table by the selected criteria shown to the user. For example, to sort by Created Date:
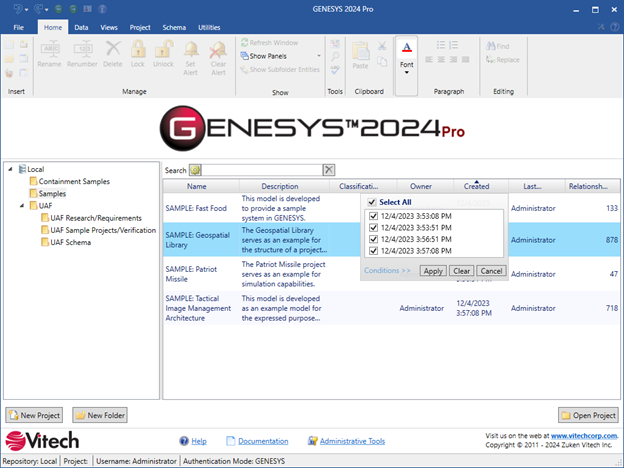
Individual dates can be deselected causing them to not show in the selection pane, or conditions can be applied to filter the set of viewable projects as shown here:
Search
The Home screen now has a general Search bar located above the Project Metadata Pane for Selected Folder. The Search is applicable to the scope that has been selected in the Project Organization Pane.

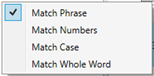
By selecting the gear icon ![]() , a choice of how the search will operate is available to the user. To clear the search the X
, a choice of how the search will operate is available to the user. To clear the search the X  icon on the right of the search bar can be selected.
The results will be returned with any cells meeting the search criteria highlighted in yellow and the search terms highlighted in red. An example is shown below.

Hyperlinks
At the bottom of the Home screen are three hyperlinks:
Help – opens this online help
Documentation - open a folder viewer for the included documentation.
Administrative Tools - open the administrative tools dialog to manage projects, users, groups, sessions, security, and OSLC settings.