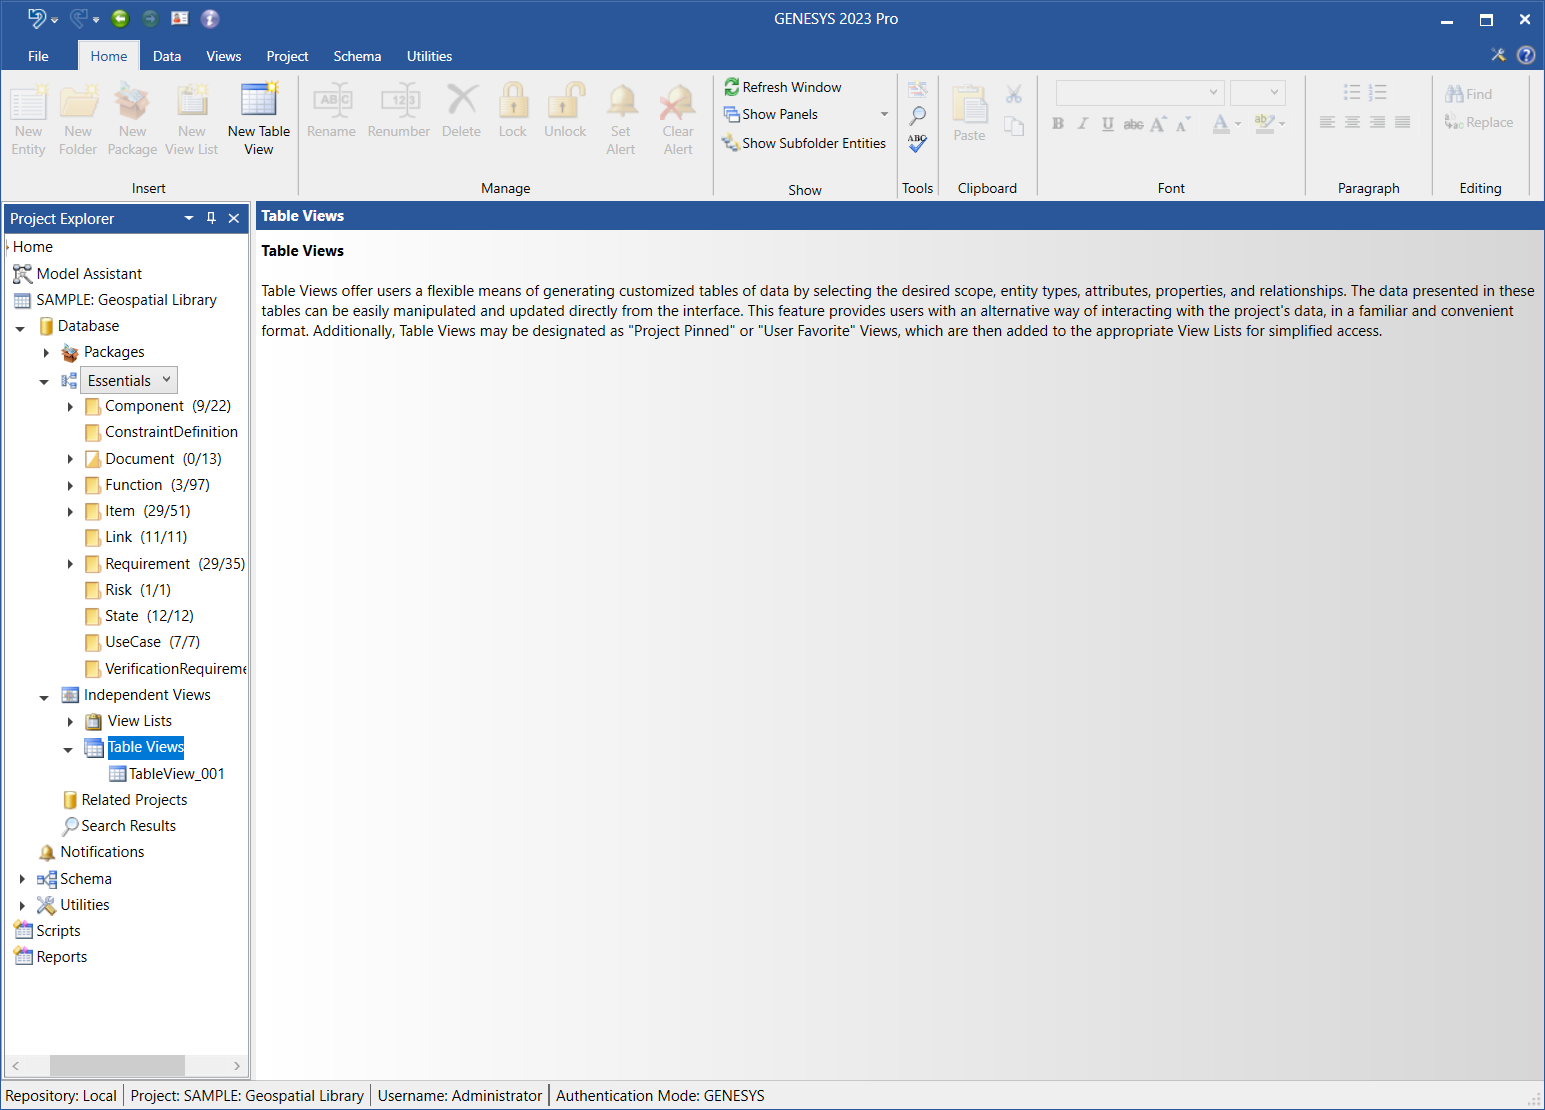
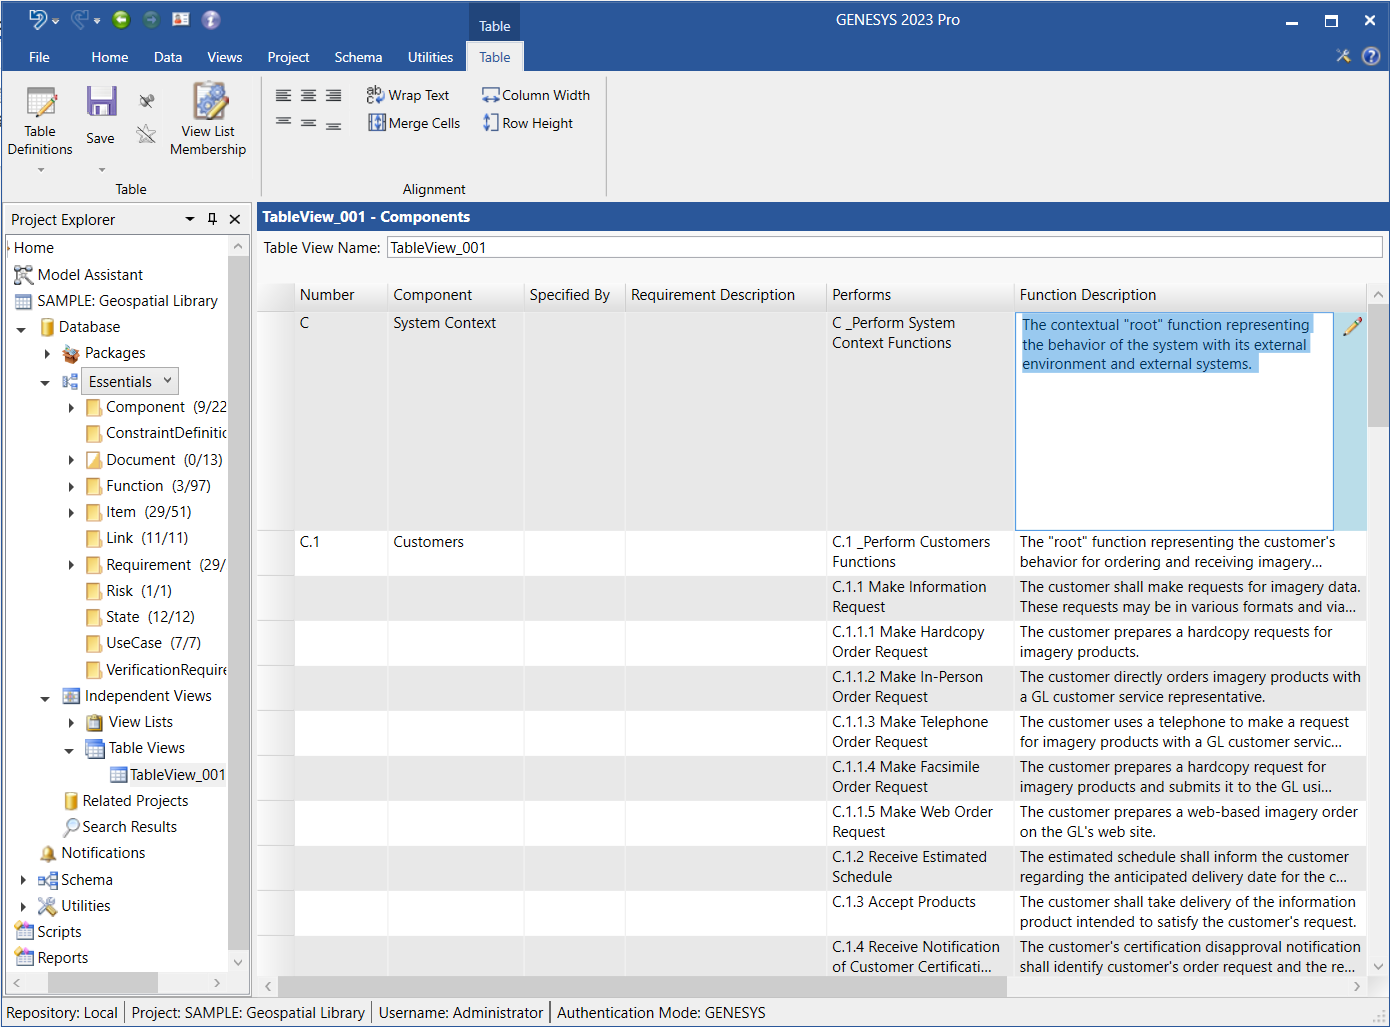
Table Views
The Table Views feature in GENESYS enables users to create, read, update, and delete data natively within GENESYS in a tabular format without having to export the data to Excel. Users can select a package, folder, or class to include in the Table View and populate the rows. Each entity will be one row in the table. They can then select which attributes and relationships will display as columns in the table.
Table Views are an excellent way to work with the entities in a model and present them with their associated attributes and relationships. They make the modeling data easily accessible and easy for users from various disciplines to comprehend.
Table Views includes a powerful editing feature that accesses all of the built-in editors in GENESYS including the Scripts Editor, Number Specs Editor, Entity Reference Editor, and Reference Spec Editor where users can edit the data directly in GENESYS. Everything editable in an entity property sheet in GENESYS is also editable in a Table View and is saved in the GENESYS database. It is also possible to add new entities and modify or create relationships from a Table View.
Creating a New Table View
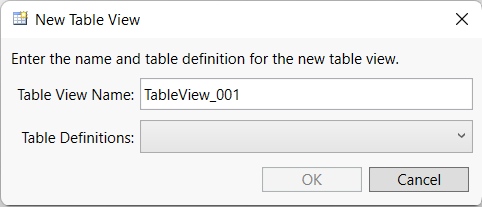
1. To create a new Table View, highlight Table Views under Independent Views in Project Explorer and click the New Table View  button on the Home ribbon, or double-click Table Views, or right-click on Table Views and select New Table View from the drop-down menu that displays.
2. At the window that displays, enter a name for the new Table View, or accept the assigned name.
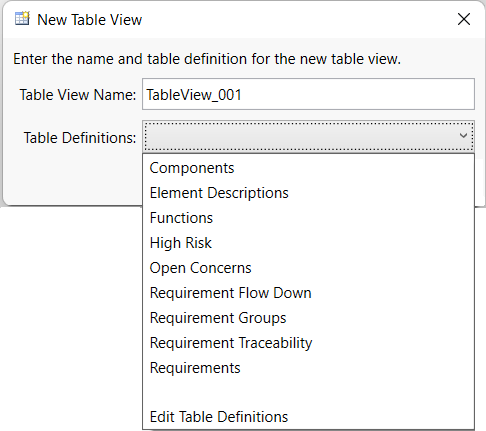
3. Select the Table Definition that the Table View should be based on from the drop-down list at the Table Definitions field.
The new Table View will appear in the Table View list in Project Explorer, as shown below.
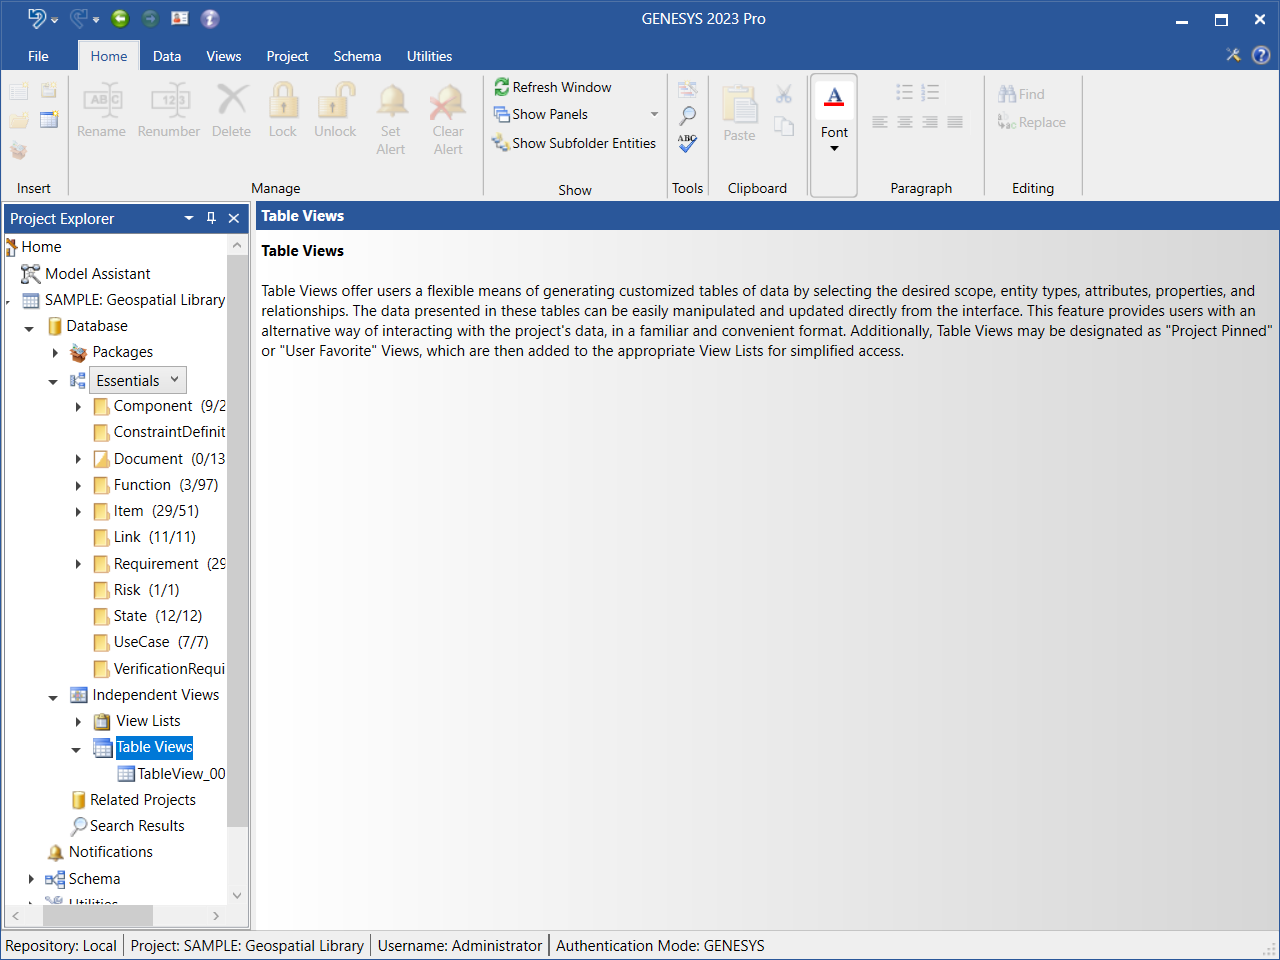
4. Click on the table name in Project Explorer and the table will display on the right side of the page.

Instantly Applying Other Pre-Defined Table Definition Templates to a Table View
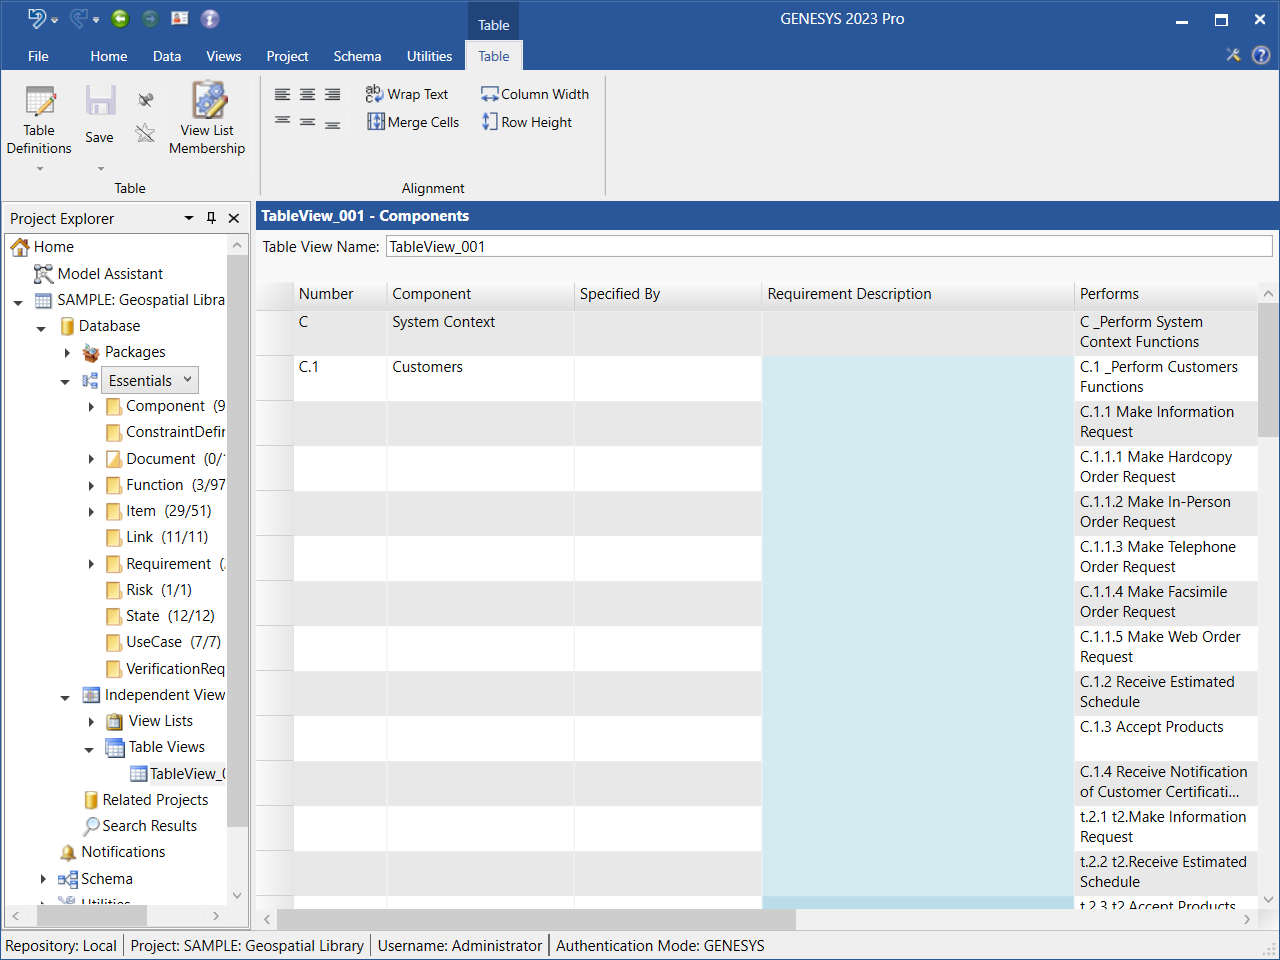
To instantly apply another pre-defined Table Definition template to a Table View, click the Table Definitions  button on the Table ribbon and select a Table Definition from the drop-down list. The Table View created above is shown below based on the Requirements Table Definition.

Adjusting Column Widths in the Table View
To adjust column widths in the Table View, highlight the column(s) and select the Column Width  icon on the Table ribbon, or click on any of the column headers in the Table View and select Column Width from the drop-down list that displays. You can increase or decrease the width of the columns to make the table more readable or to fit all of the table fields on the screen.
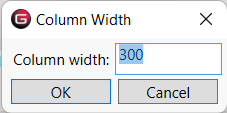
In the window that displays, enter the preferred column width and click OK.
Adjusting Row Height in the Table View
To adjust row height in the Table View, highlight the row(s) and select the Row Height ![]() icon on the Table ribbon. You can increase or decrease the height of the rows to make the table more readable or to fit all of the table fields on the screen.
icon on the Table ribbon. You can increase or decrease the height of the rows to make the table more readable or to fit all of the table fields on the screen.
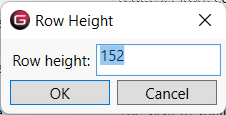
In the window that displays, enter the preferred row height and click OK.
Alternatively, you can adjust row height by dragging the border between the gray cells in the first column of the Table View up or down to decrease/increase the height of the row, respectively. In the Table View below, we increased the height of the row containing Requirement R.2.1.1.1 in order to view the hidden text.

Editing Text Fields in the Table View
You can edit any of the text fields in the Table View by double-clicking on the field. The field becomes editable.
Select the Wrap Text  icon on the top left side of the Table ribbon to turn the wrap text function on/off. The default selection is wrap text.
Select the align right, align center, or align left icon on the top left side of the Table ribbon to align the text right/centered/left, respectively, in the selected cell(s).
Select the align top, align center, or align bottom icon on the top left side of the Table ribbon to align the text at the top/center/bottom of the selected cell(s), respectively.
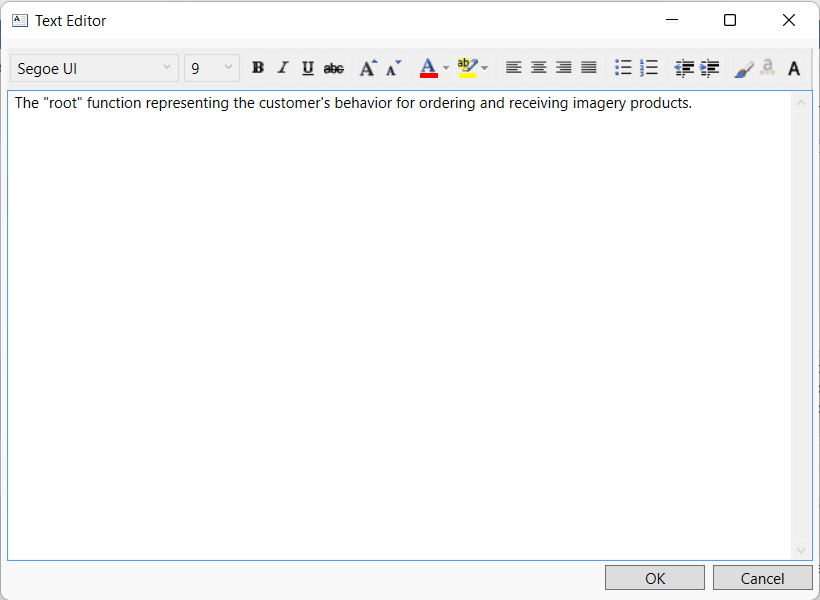
You can also click on the Pen icon to open the Text Editor where you can do more elaborate formatting.
Editing Relationship Targets in the Table View
Relationships targets can be directly added or editised from an active table view.
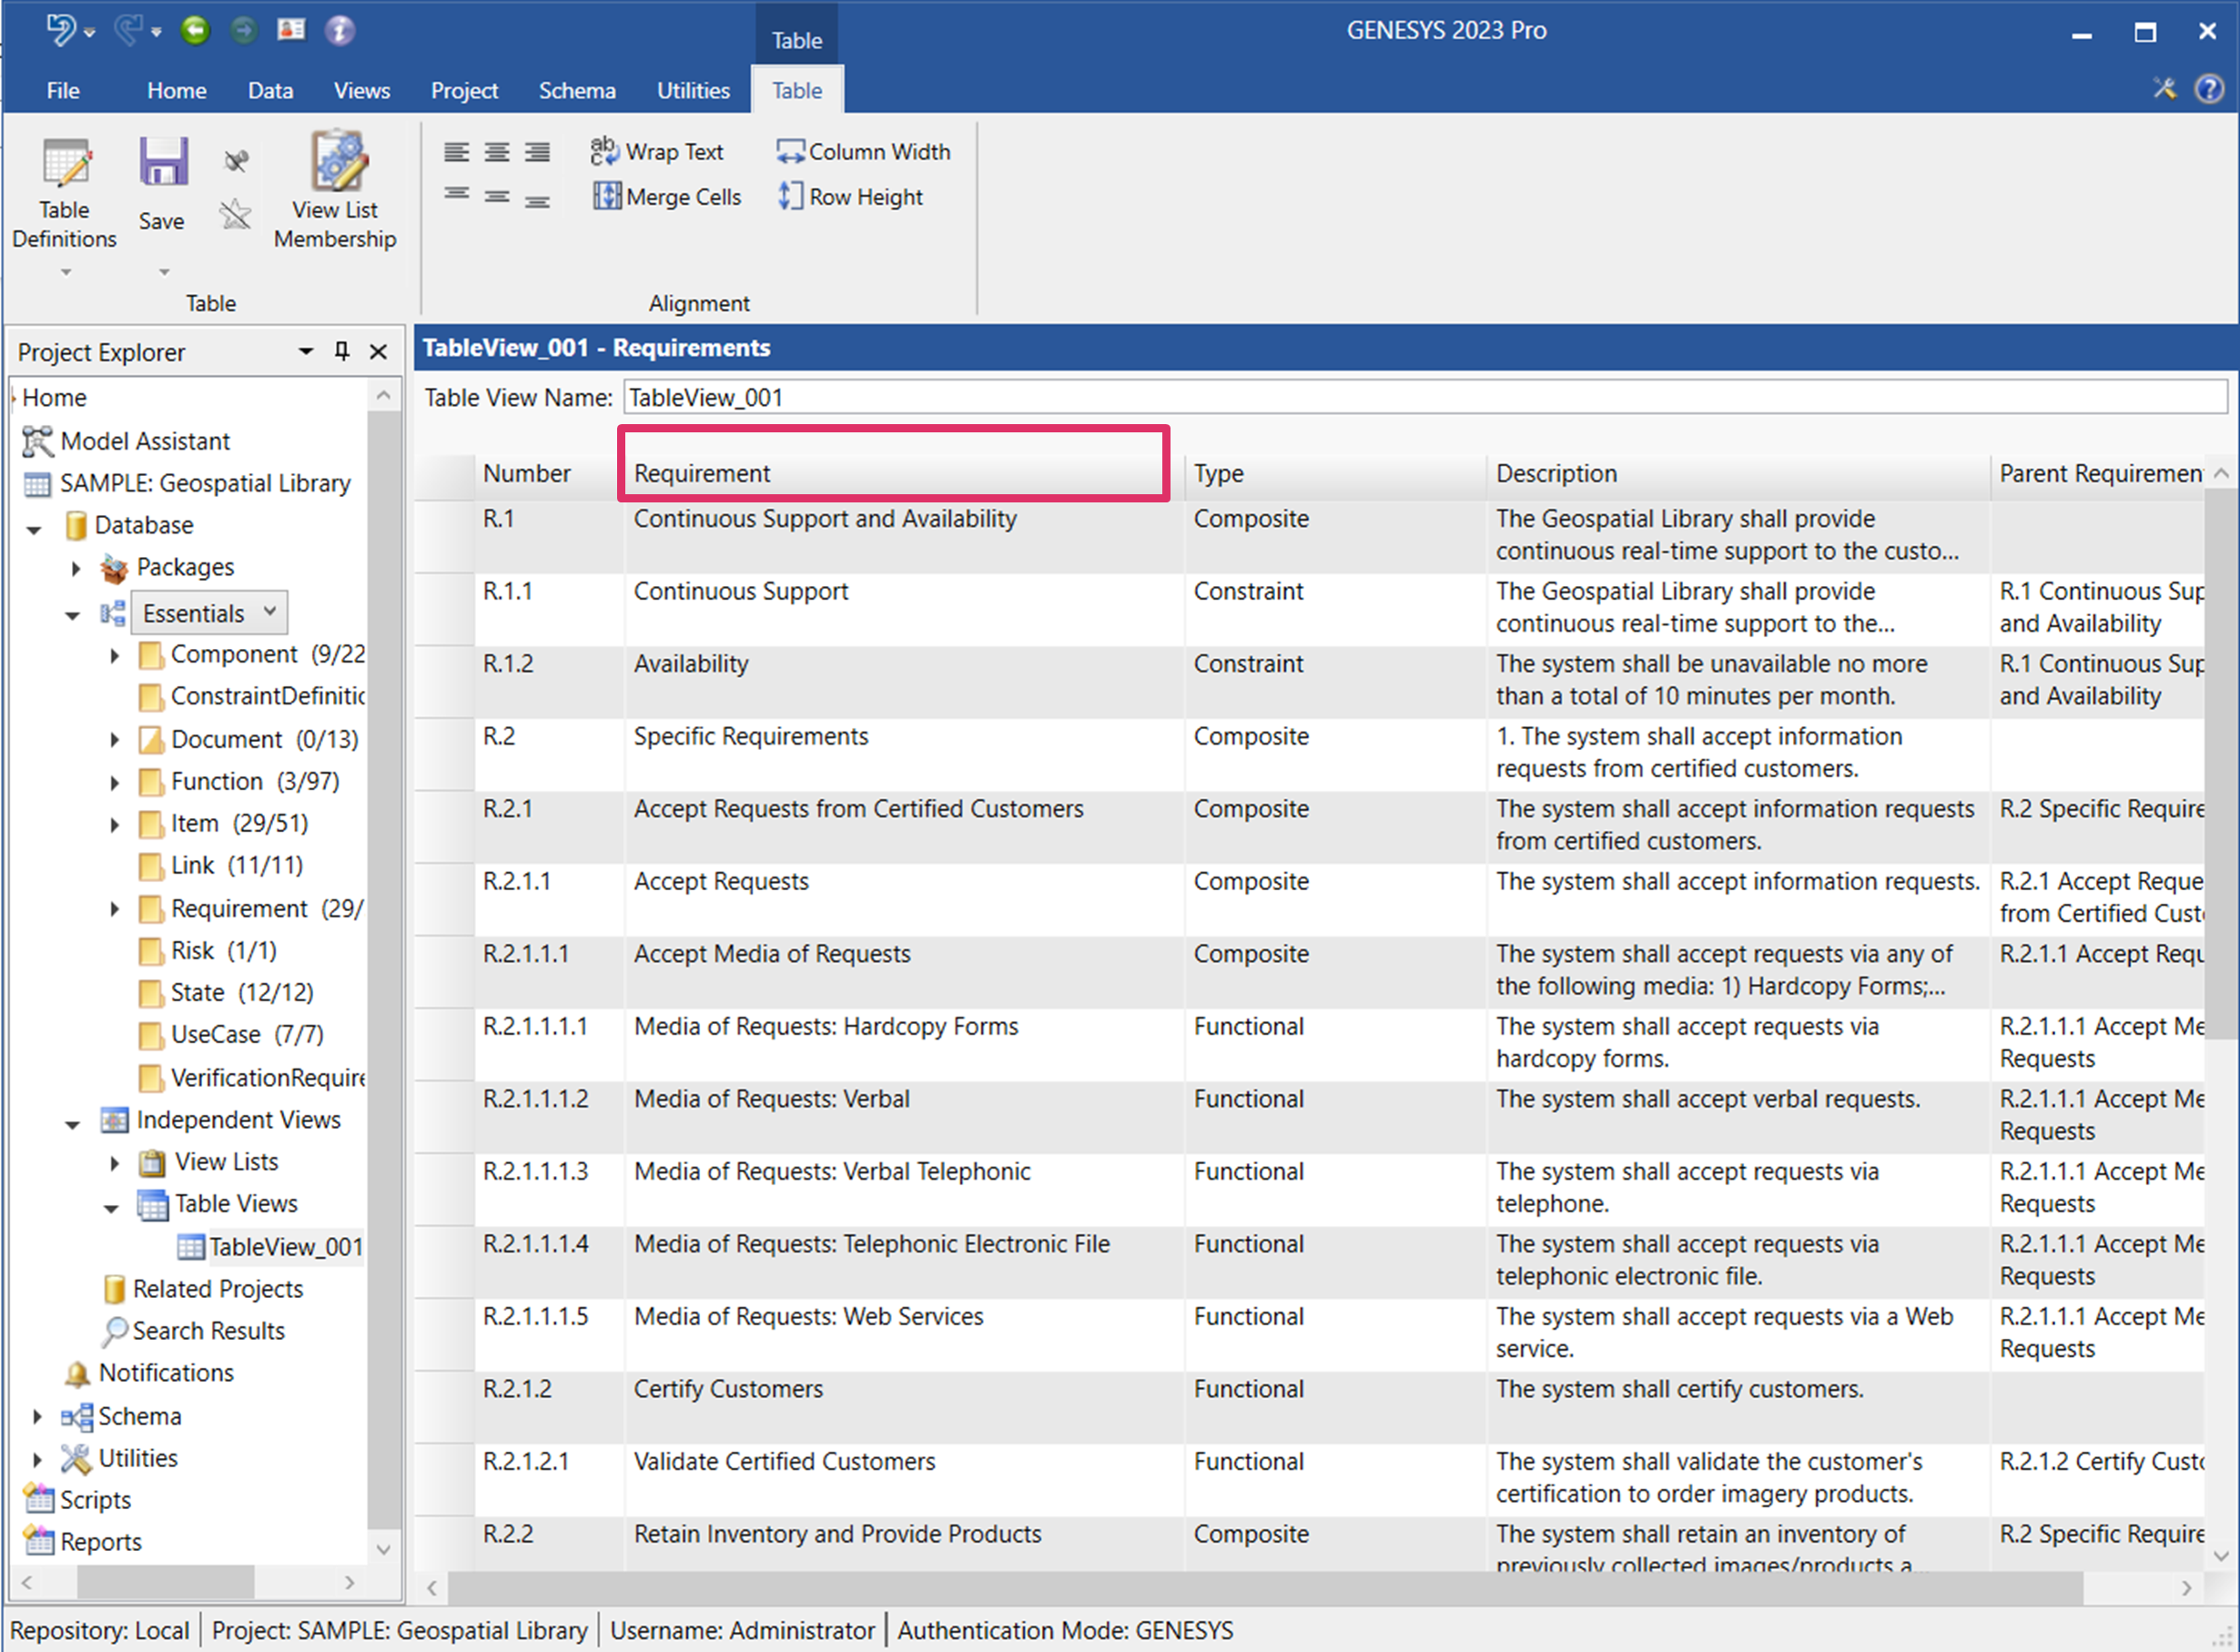
For example, in the table below, the parent requirement is a target class, shown in the red rectangle.
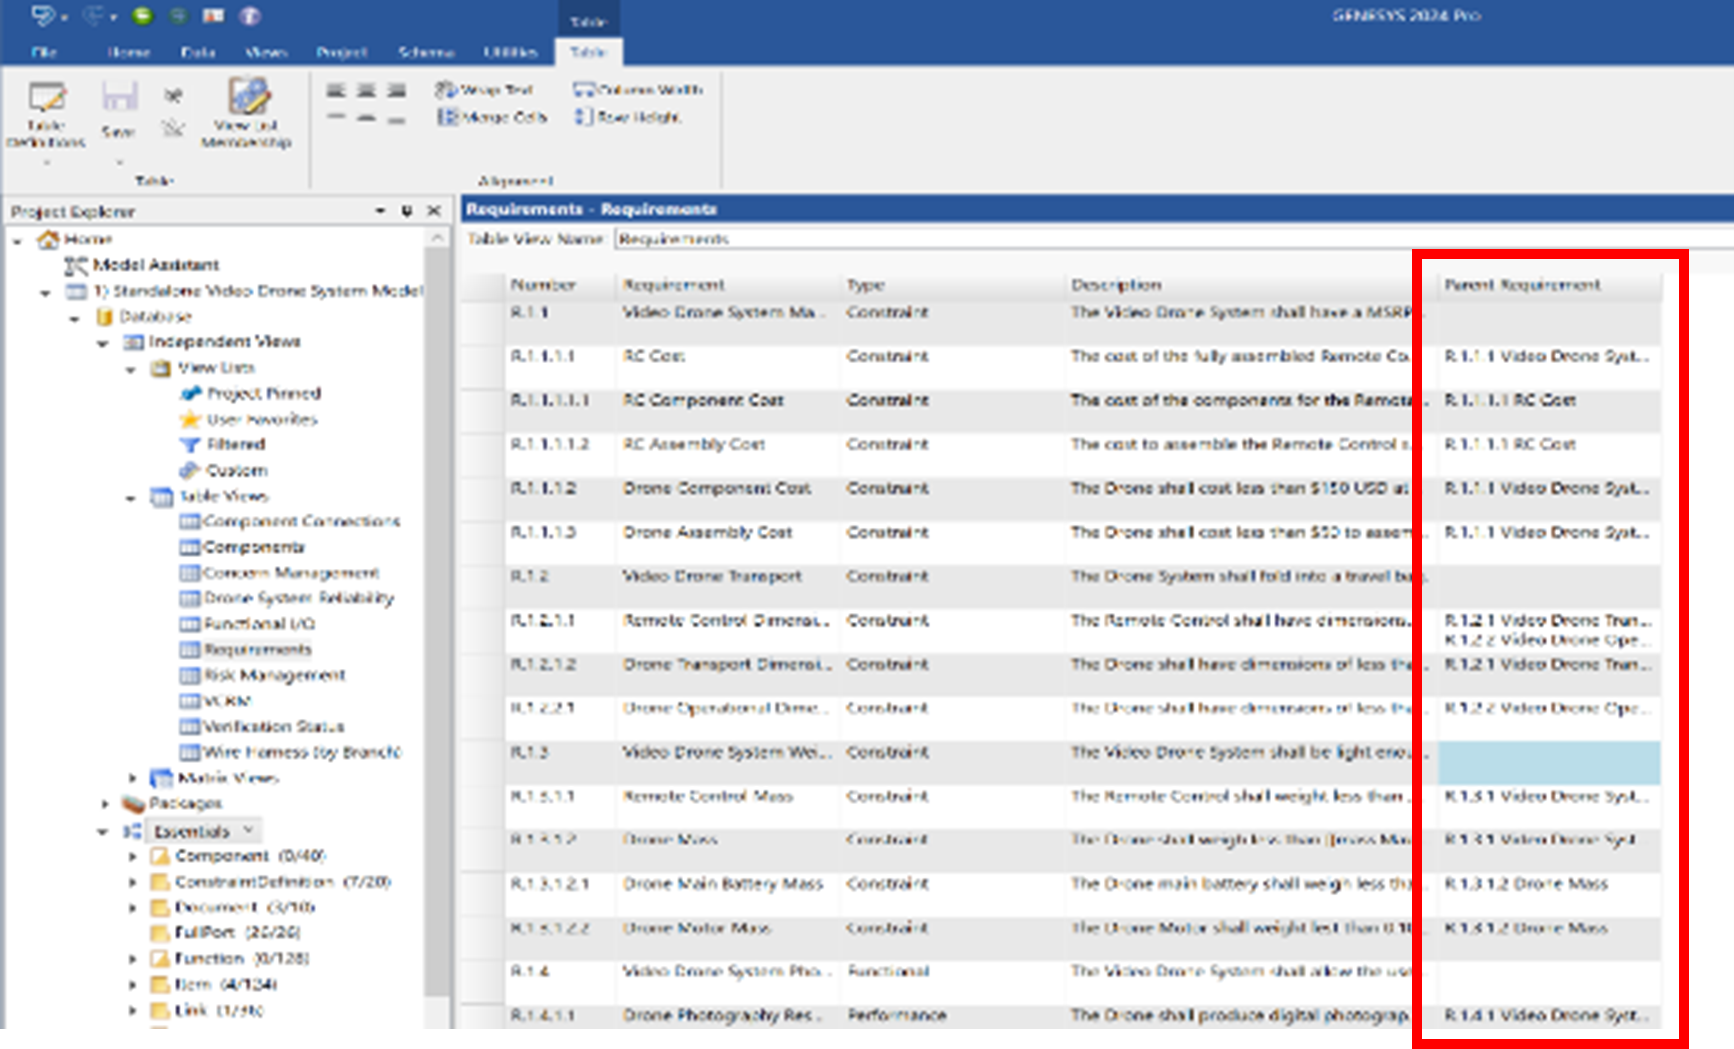
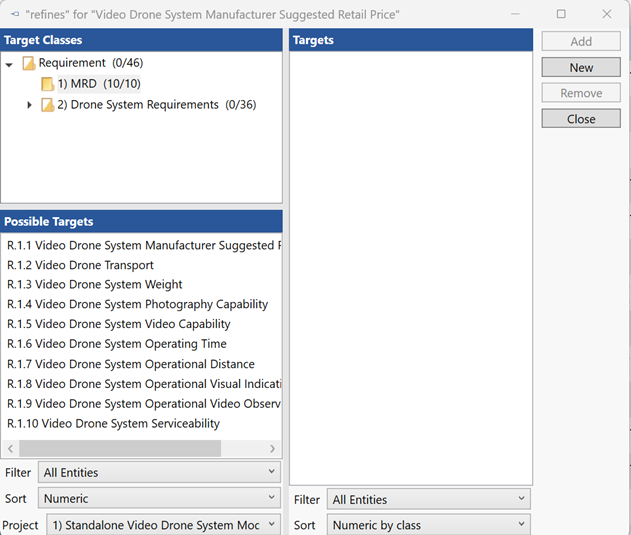
To use this, double-click on a cell with a possible relationship target (for example, any of the cells in the red, highlighted column above). Once this is done, the standard target selection dialog will appear. Notice the title bar of the dialog box where it displays the “refines” relationship, indicating that the requirement entity on this row of the table refines the selected parent requirement. Simply select the desired Class / Folder and then select the desired target entities in the “Possible Targets” pane, and then either double click each entity or use the provided Add controls on the right-hand side to add the selected entities to the Targets pane, thus creating the relationship between the source entity and the selected Target Entity.
Saving Your Table
Click the Save button on the top left side of the ribbon to save any changes to the Table View, or click the down arrow under the button and select Save As to save the Table View with a different name.
Adding a Table View to a View List
Users can add the Table View that they are working on to a Project Pinned or User Favorites view list by selecting the Pin  or Star
 icon, respectively, on the Table ribbon. The pin changes color to blue
  and the star changes color to yellow
  to indicate that the Table View is on the Project Pinned or User Favorites view list, respectively.
Users can also add Table Views to a Filtered and Custom view list under View Lists in Project Explorer. Refer to the Structured Views of Diagrams topic for additional information about view lists.
Adding a New Entity to a Table View
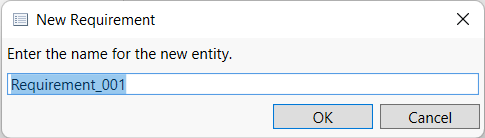
To add a new entity to a Table View, select the New Entity  button on the Home ribbon, or right-click anywhere on the Table View and select New Entity from the drop-down menu that appears.
At the window that displays, enter a name for the new entity.
The new entity will appear at the bottom of the list of entities in the Table View.
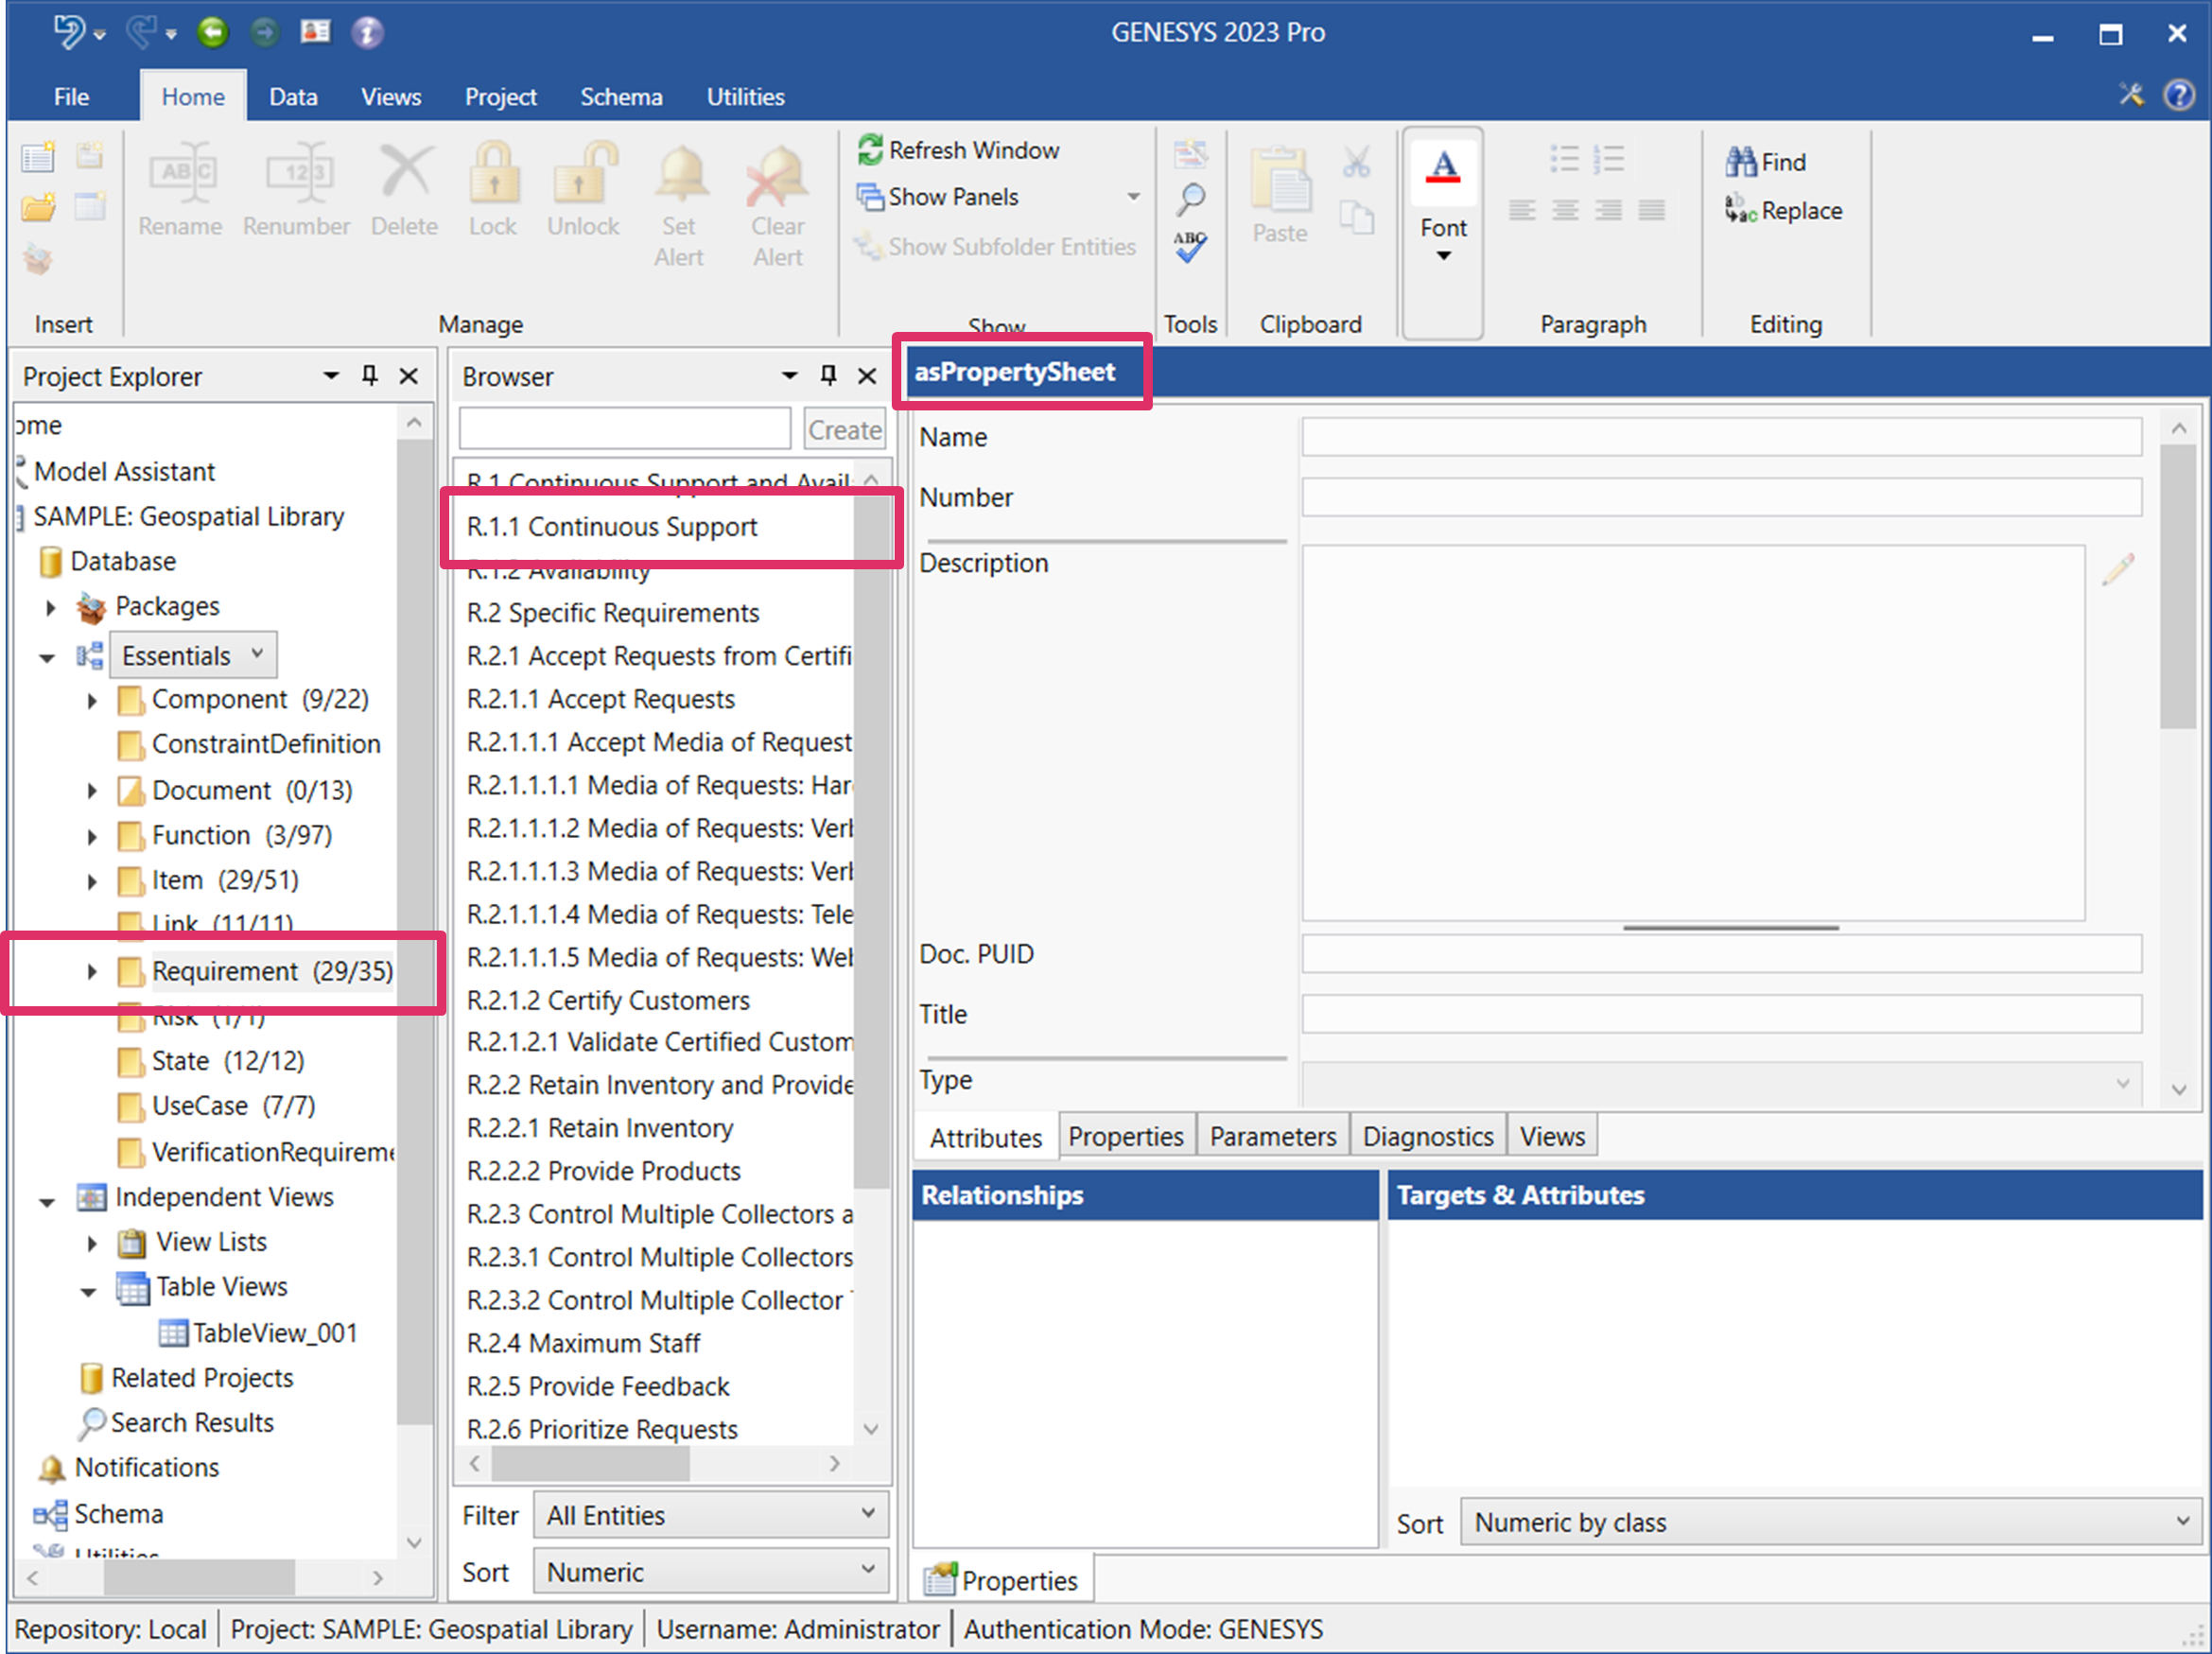
Jumping from a Table View to the Related Entity in the Folder/Package in Project Explorer
You can jump from an entity in a Table View to the related entity in a folder/package in Project Explorer by right-clicking on the entity in the Table View and selecting these options on the context menu that displays.
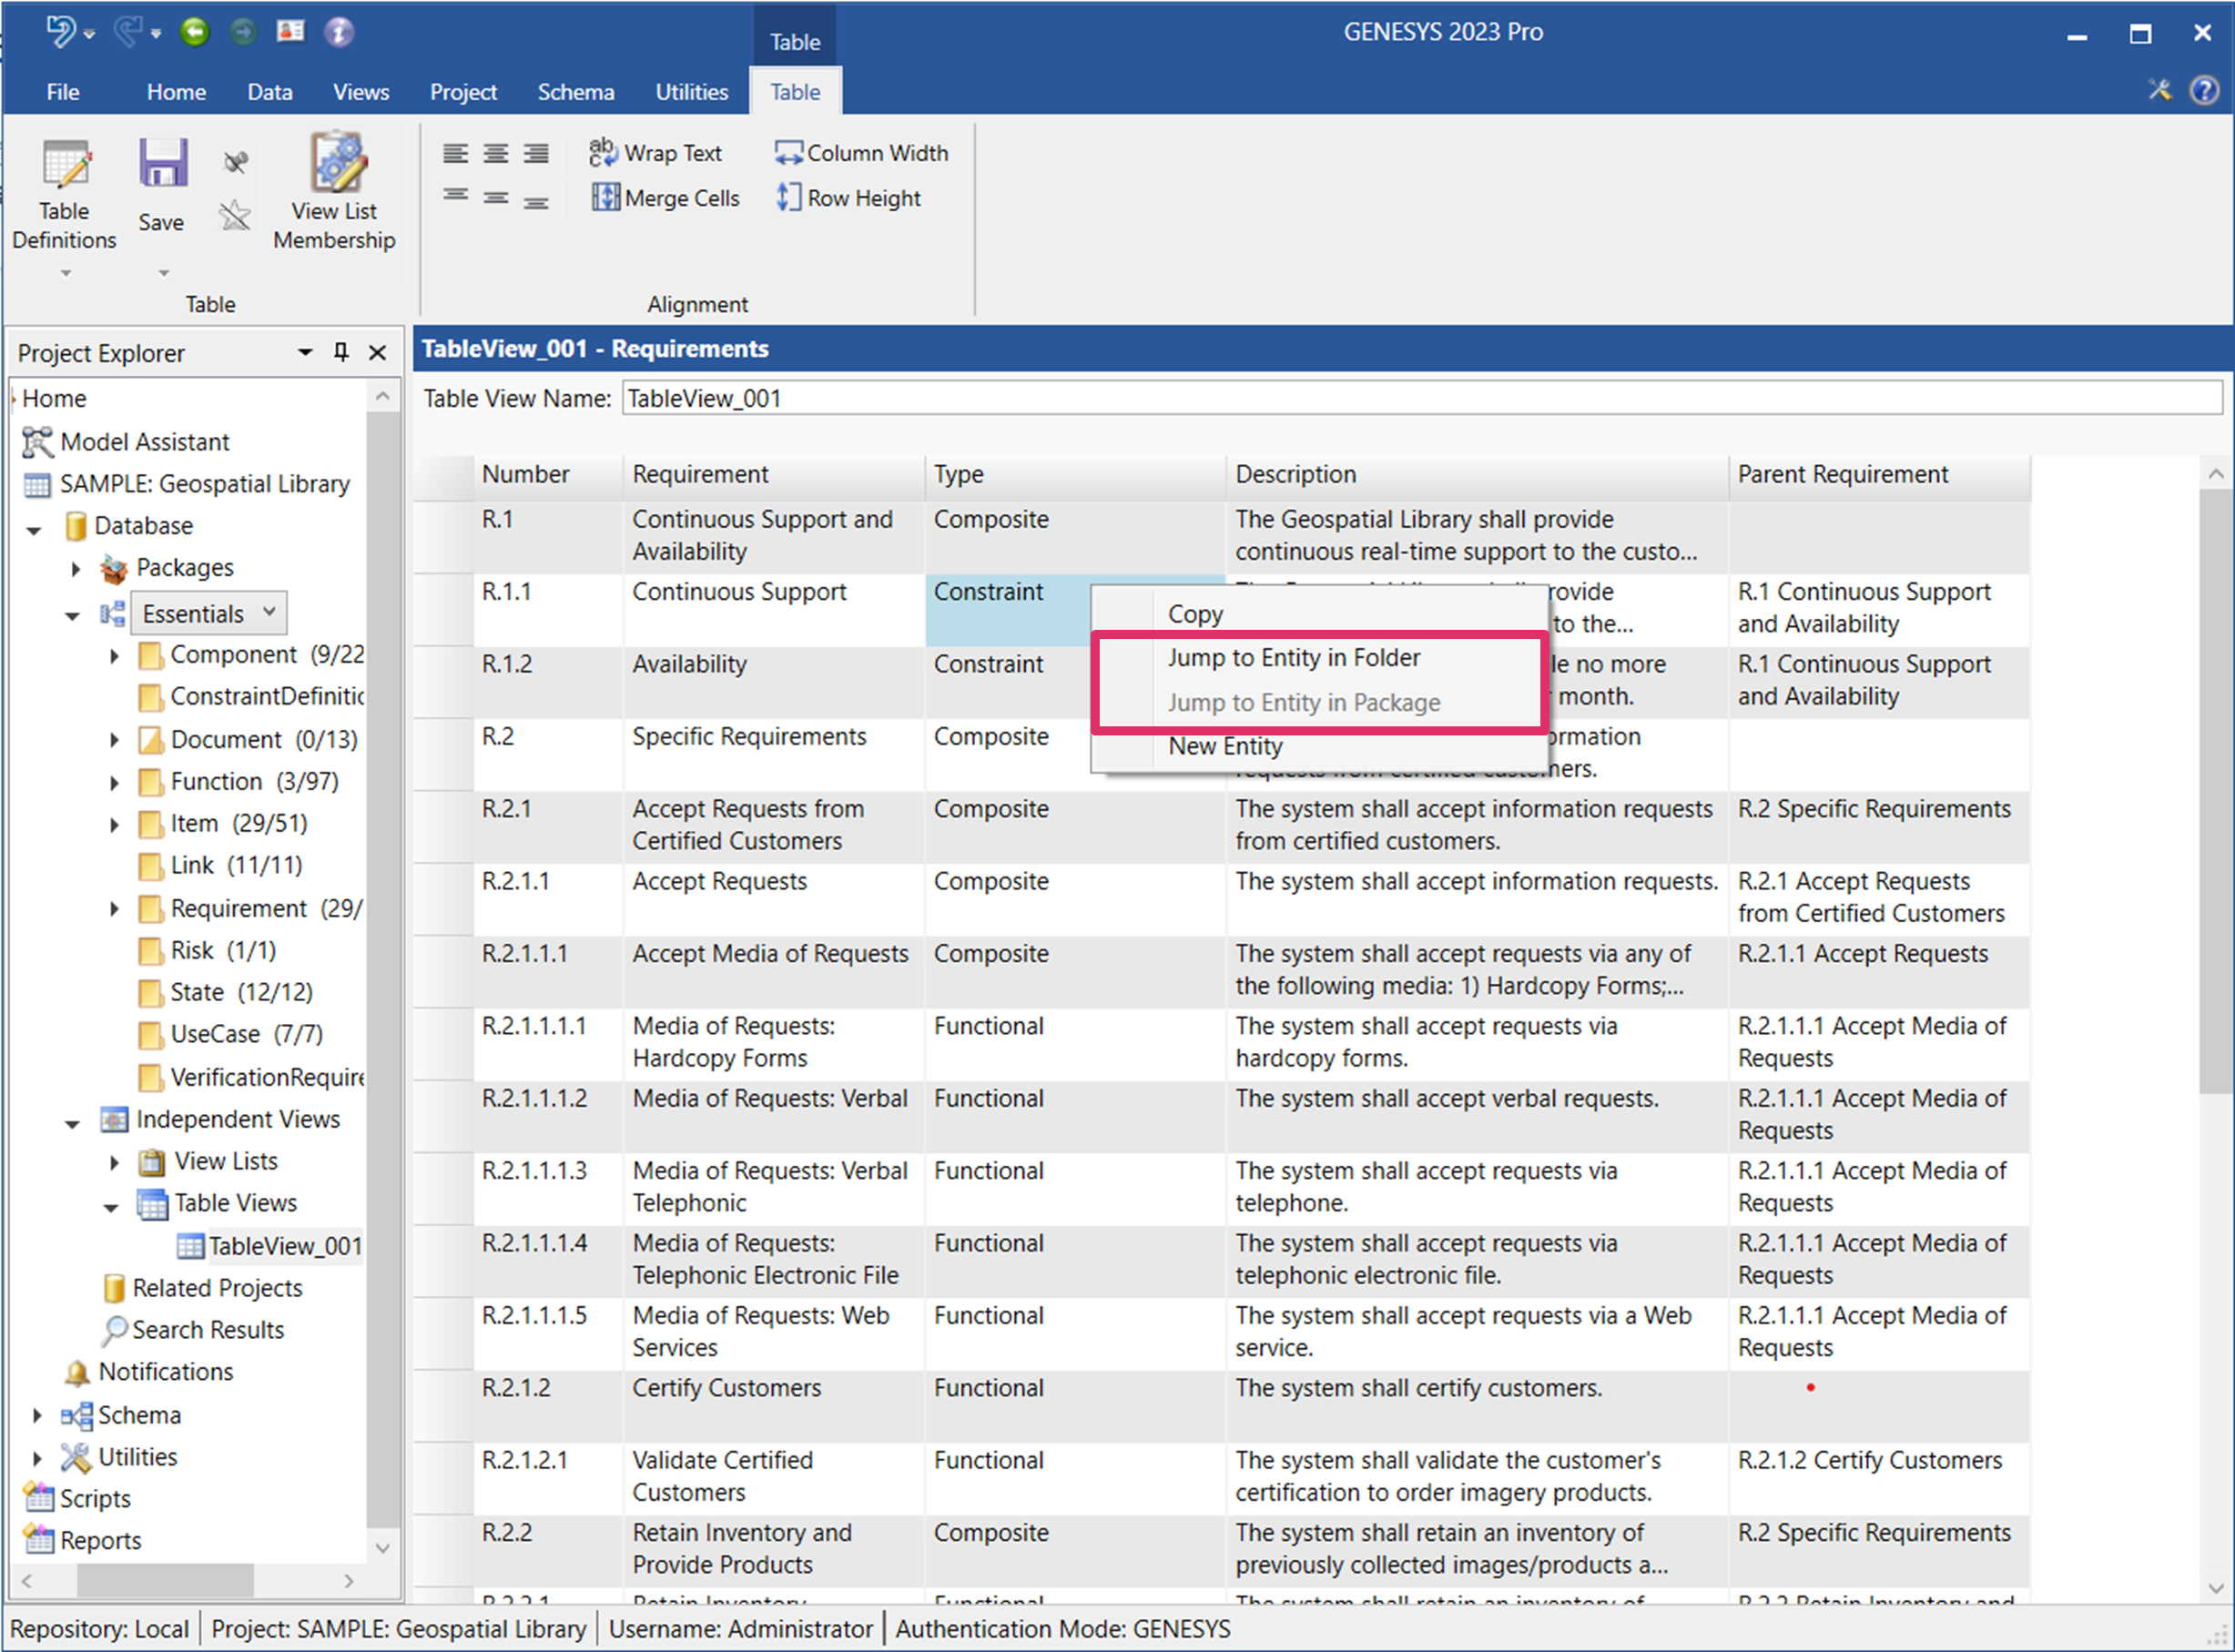
GENESYS takes you to the entity in the folder or package in Project Explorer associated with the entity in the Table View. It will highlight the folder/package in Project Explorer and the entity in the Browser pane and display the entitys property sheet on the right side of the window. In this case, it takes you to the Requirement folder and the Continuous Support entity, as shown below.
Copying and Pasting Data from a Table View into MS Excel
You can copy and paste data from a Table View into MS Excel to manipulate the data with advanced Excel functions.
1. Highlight the data that you want to copy, right-click anywhere on the data, then select Copy from the drop-down menu that appears or select CTRL + C on the keyboard.
2. Right-click on the Excel spreadsheet where you want to paste the data and select Paste from the drop-down menu that appears, or select Ctrl + V on the keyboard.

3. Adjust the widths of the columns to fit the data by dragging the handles on the column headers.
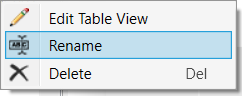
Renaming a Table View
To rename a Table View, right-click on the table view name in Project Explorer and select Rename from the drop-down menu that displays.
At the window that displays, enter the new name for the Table View and click OK.
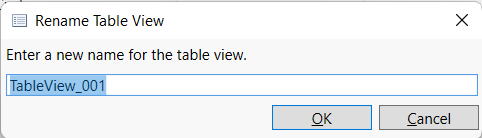
Alternatively, you can change the name in the Table View Name field at the top of the Table View window.

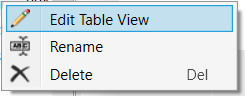
Editing a Table Views Table Definition
You can edit the Table Definition for a Table View from within GENESYS just like you would edit it in Excel and create customized Table Definitions.
1. To edit a Table Views Table Definition, right-click on the Table View name in Project Explorer and select Edit Table View on the drop-down list that displays.
Alternatively, you can edit the Table Views Table Definition by selecting the Table Definitions  button on the Table ribbon and selecting the Edit Table Definitions option on the drop-down list that displays.
From the window that displays you can edit the Table Views Table Definition from within the GENESYS software just like you would edit it in Excel.

2. In the Table Definition section on the top left side of the window, select the Table Definition from the drop-down list and click Save.
3. Select a filter from the Filter drop-down list to include only the data that you want to include.
4. Select a sort block from the Sort Block drop-down list to sort the data.
5. Select a default class from the Default Class drop-down list.
6. Check the box if you want to allow Transform Entities. This option enables changing an entitys class to another class.
|
NOTE: |
Transforming entities could result in loss of data from attributes and relationships that are not transformed. |
7. In the Class/Folder/Package section on the top right side of the window, select the classes and folders or packages that you want to include, or select All Items to include all items.
8. In the bottom section of the window, you can edit how the data will display in the Table View and add and remove data.
You can also highlight a row and click the Up  arrow or Down
  arrow above the table to move the row up or down in the table, respectively.
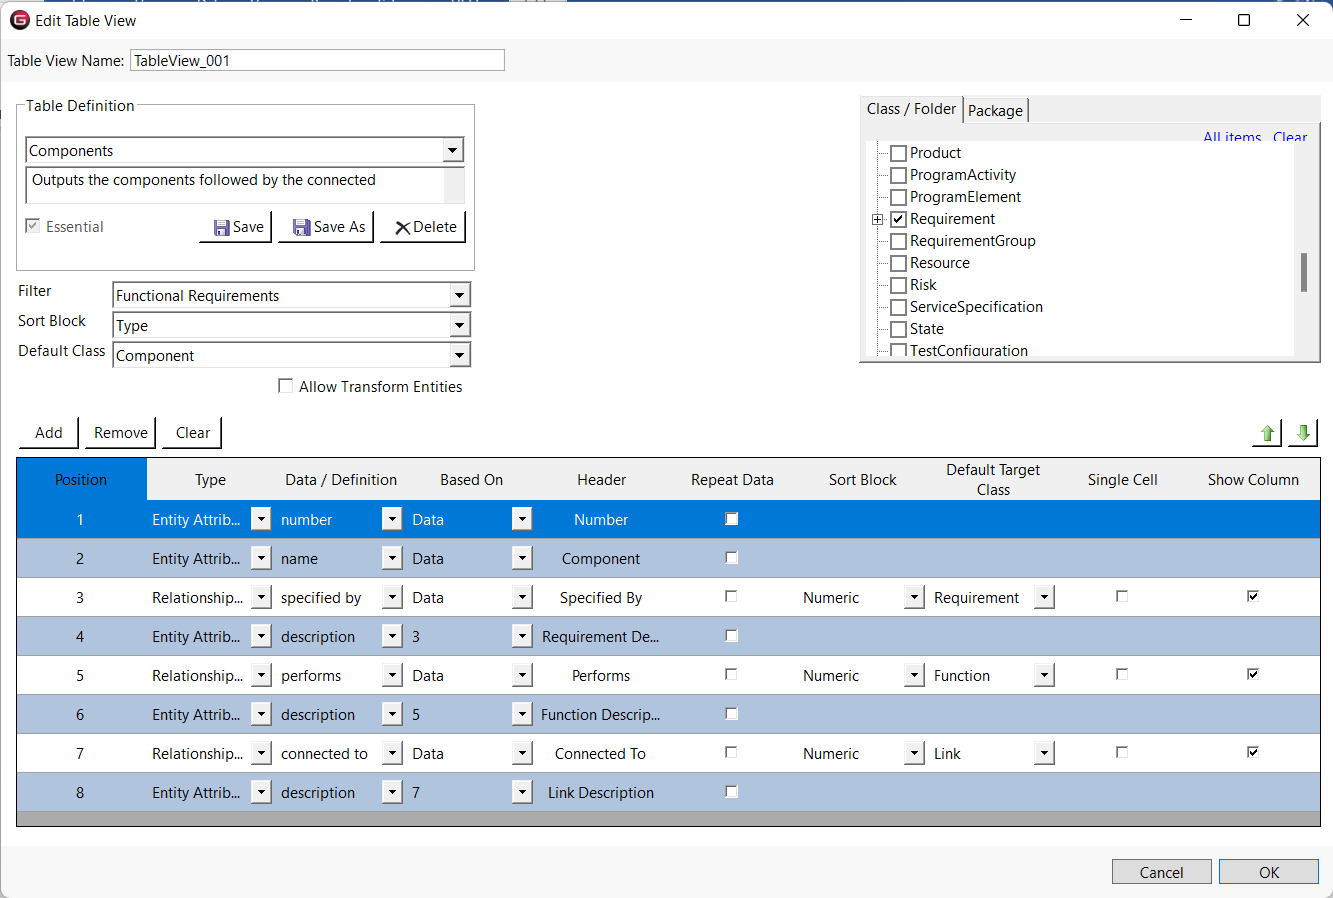
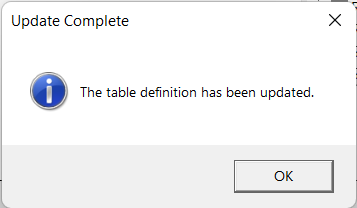
9. Click OK to generate the Table View.
A message displays indicating that the Table Definition has been updated.
The updated table definition displays in the Table View window, as shown below.
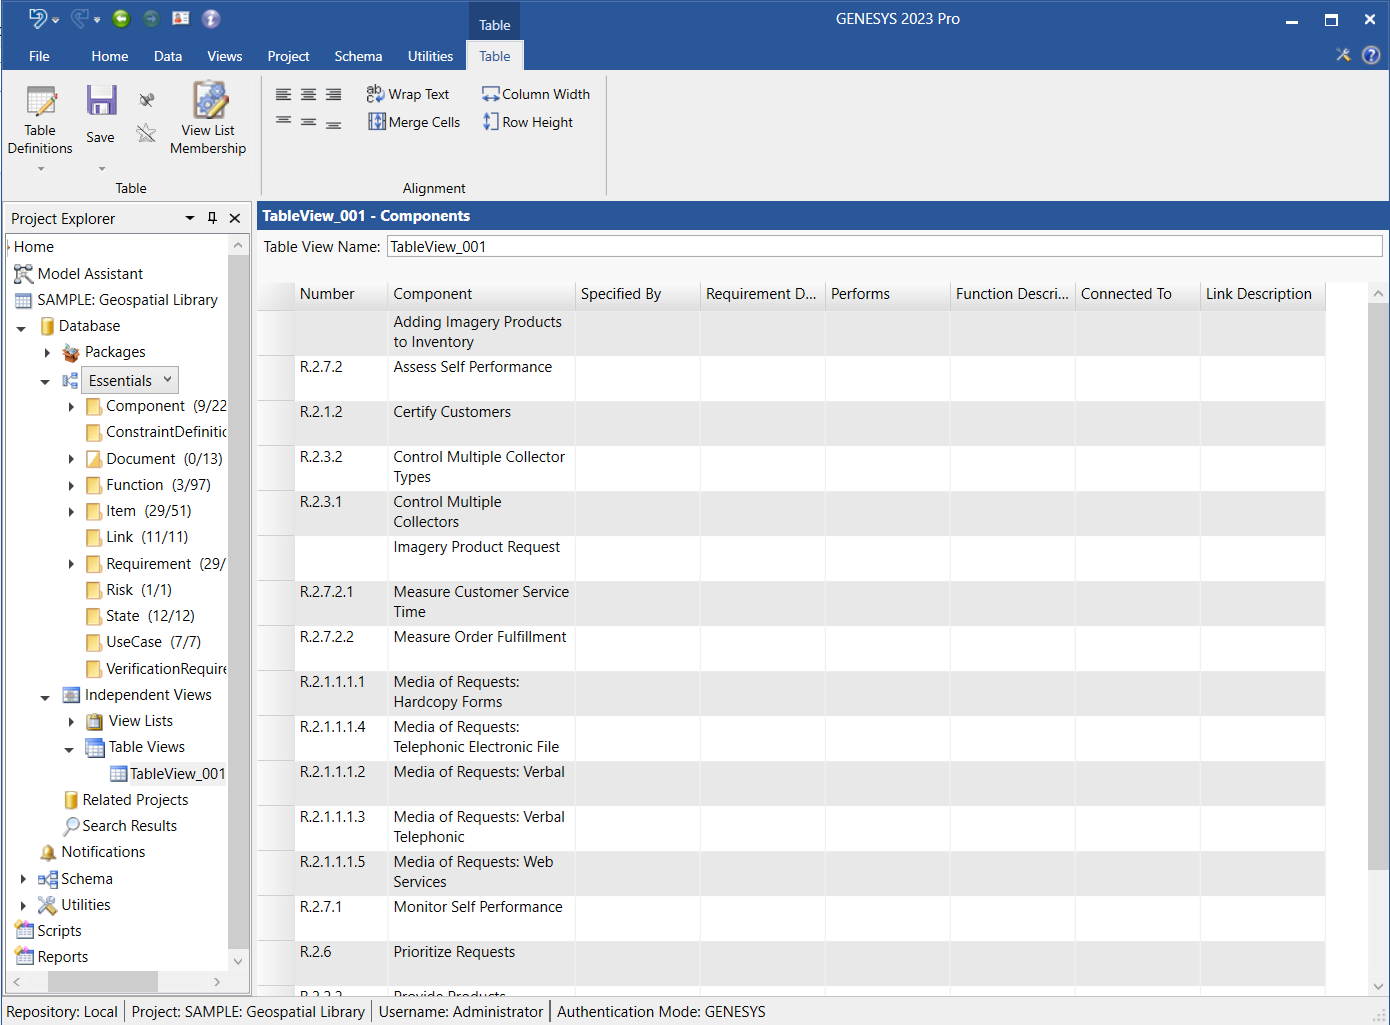
Table Views instantly dynamically update when data in GENESYS changes.
Deleting a Table View
To delete a Table View, right-click on the Table View name in Project Explorer and select Delete from the drop-down list. It is removed from the list but is still in the database.
Navigating Rows in a Table View with Keyboard Arrow Keys
You can use the arrow keys on your keyboard to navigate up and down the rows of a Table View.
Dragging Table View Columns Wider/Narrower
You can drag the columns in a Table View wider/narrower by clicking on the right edge of the column while holding down the left mouse button. Dragging it to the right makes the column wider; dragging it to the left makes it narrower. In the example Table View below, we dragged the Requirement column wider.
Merging Empty Cells in a Column
To merge empty cells in a column, highlight the cells and select the Merge Cells  icon on the top left side of the Table ribbon.
In the example Table View below, we merge the cells in the Requirement Description column.
The merged rows are shown below.
