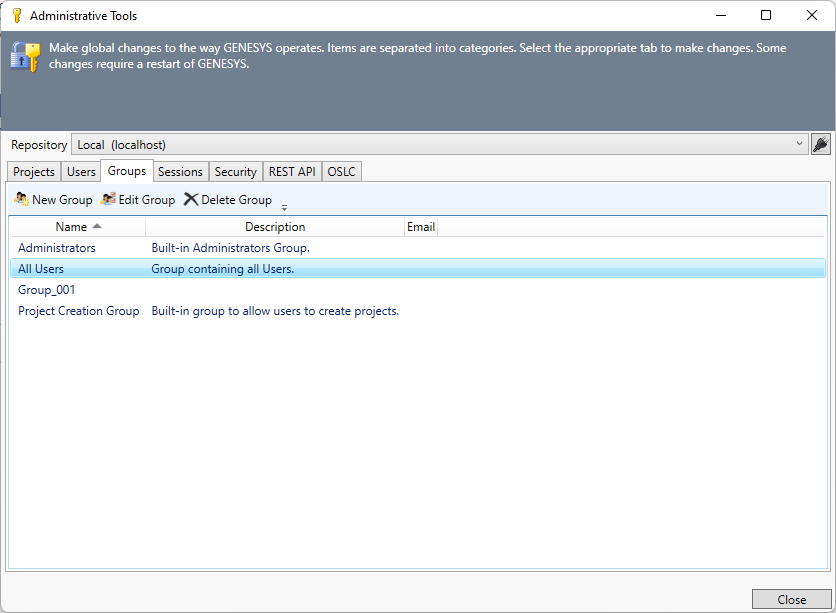
New Group 
The New Group command, accessed in Administrative Tools under the Groups tab, opens a dialog where the System Administrator can create and name a new group of users.

On the Details tab, System Administrators can edit the group name, email, and description. The group name must be unique.

On the Members tab, System Administrators can add and remove members from the group.

Current group members are listed in the Members list on the right side of the window. All other users are shown on the left side of the window.
To add a user to the group, select the user in the Other Users list on the left side of the window and then click Add. The user appears in the Members list on the right side of the window.
To remove a member from the group, select the user in the Members list on the right side of the window and then click Remove. The user disappears from the Members list.
When permissions are granted to a group either at the project, entity, or attribute level all members of the group receive these permissions.
A group is automatically assigned a unique ID upon creation. Deleting a group and then creating a new group with the same name will result in a different unique ID. This prevents a new group from assuming the permissions assigned to an earlier group.
|
NOTE: |
What privileges are required to create a group? To create a group, you must have System Administrator privileges. Project Administrators can grant groups permission to access a project, but System Administrator permission is required to create, delete, or otherwise change a group. |